The Retreat Remodel No. 3 – 1st Kitchen Update
This post may contain Amazon or other affiliate links. As an Amazon Associate I earn from qualifying purchases.
 A new DIY/Remodeling Series
The last month has been a flurry of activity including all things saw dust and nails and paint as we’ve been working on the retreat remodeling project. I thought it was time to share an update of some of the work we’ve been doing in the kitchen area, although nothing is totally finished at this point. So instead of a “before” and “after,” I’m sharing a before and “during,” if that’s okay with you?
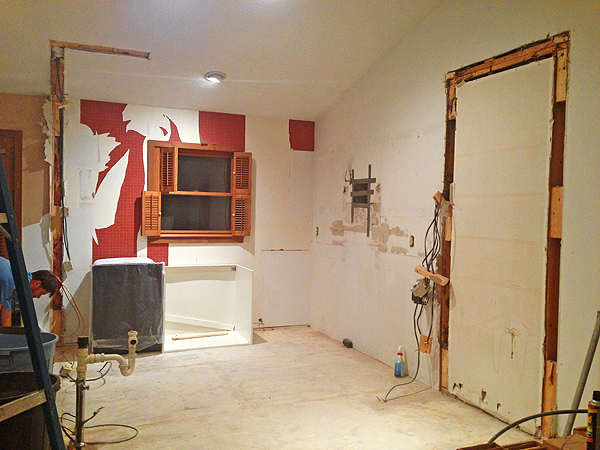
Here’s what we began with. A basic galley kitchen, that needed to be opened up and perked up too.
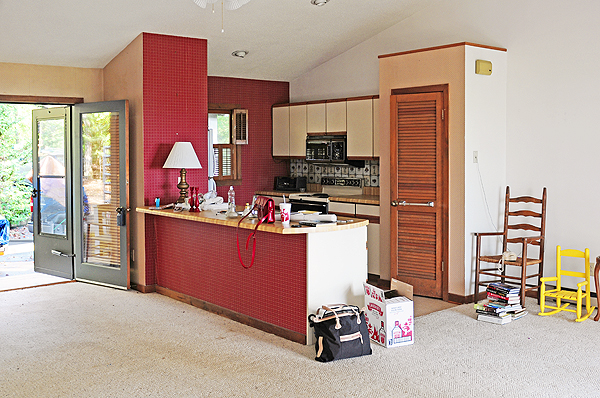
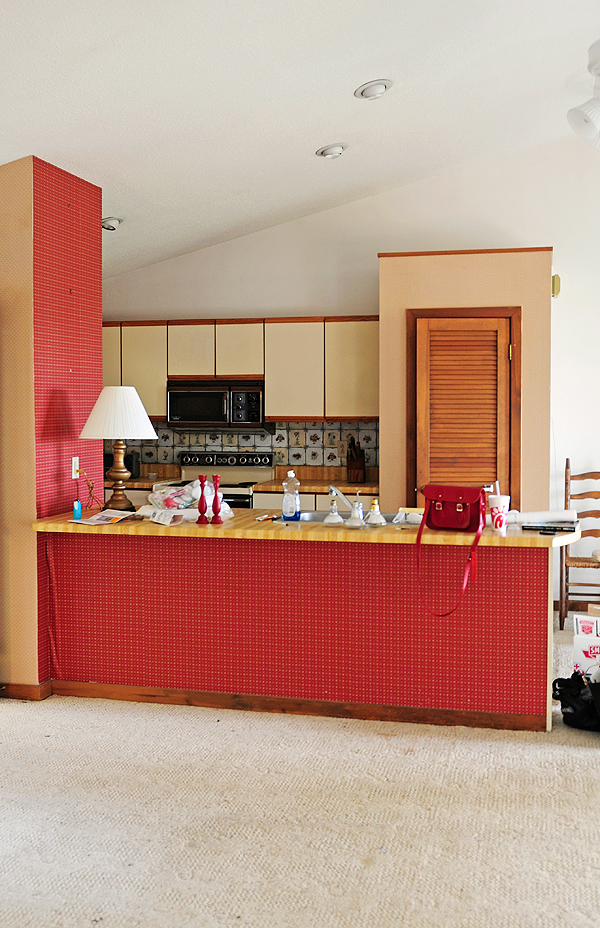
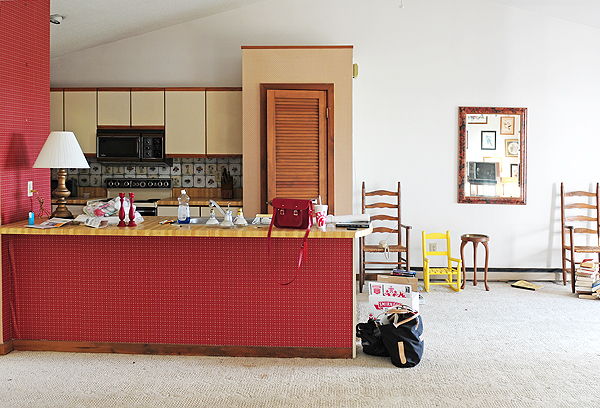
We decided to create a more open kitchen layout by removing the built in pantry as well as the wall around the fridge and peninsula, to create an “L” shaped kitchen with an island. Not only to open up the area and provide more flow, but more cabinet and counter space as well.
Day one started with us removing most of the cabinets and beginning to tear down the pantry.
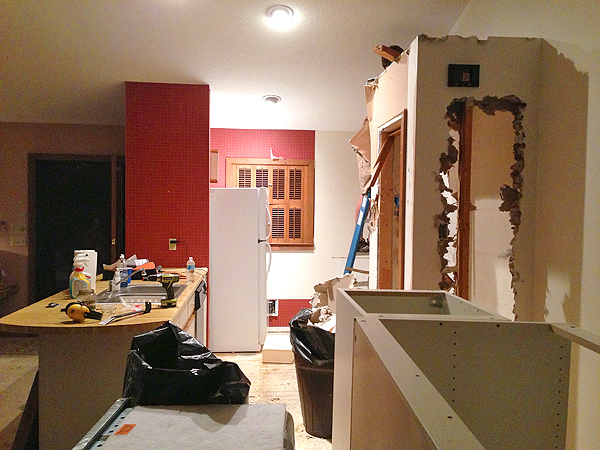
By the end of day two the whole kitchen was gutted, including 2 layers of old linoleum underfoot. We were pooped by the end of that day.
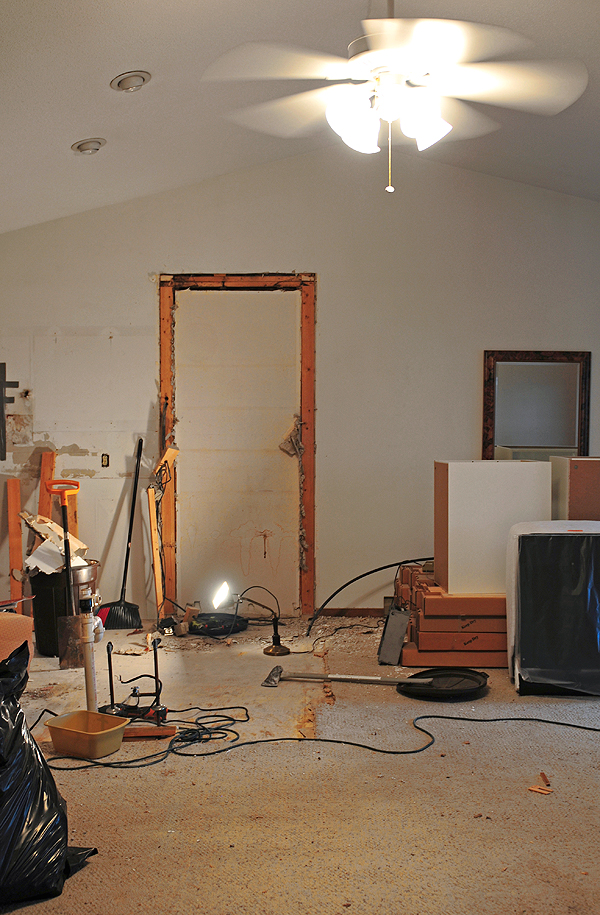
Now here’s where a little detour takes place. We found an area on the wall that the pantry and range had been that was a bit of concern. There were water spots and some mildew that encouraged us to remove some of the sheetrock. We ended up finding 2 water leaks around the hood vent and another where an exterior roofline had not been attached correctly. They were fixed by another contractor.

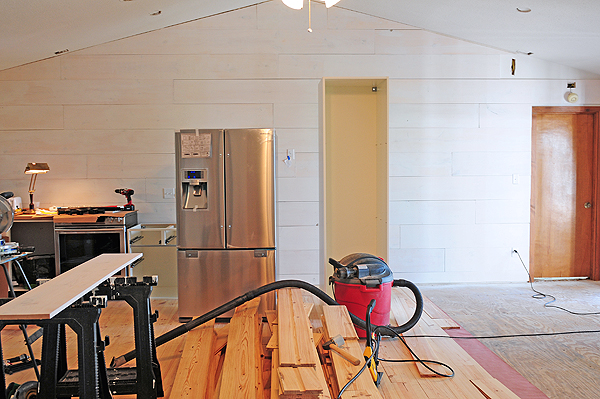
We ended up replacing the insulation and sheetrock ourselves. Before the remodel began we teetered back and forth about adding wood panels to the walls, but decide to table that until later on … later on got pushed up by the water leaks. We quickly decided to go ahead and hang horizontal 12″ boards, that will be painted (they’re only primed now) in the main living area of the house. Not only does it offer some character, but it also helps us avoid having to remove wallpaper, AND hire experts to mud and tape the wall we replaced with new sheetrock. We do not mud and tape. So we ran and bought a bunch of wood, primed them, and began hanging them first in the kitchen area.
Moving right along …
We made sure the IKEA cabinets fit before attaching them. They did!
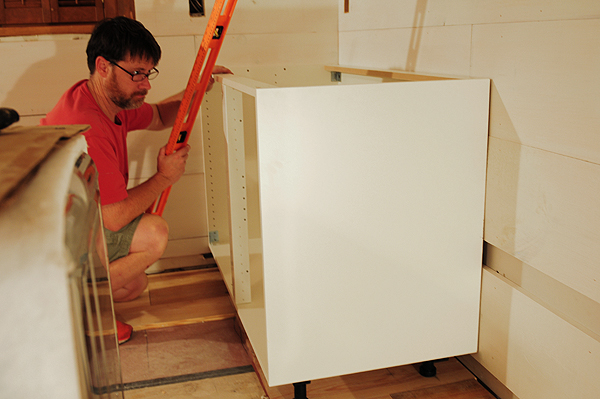
You may notice a small band of wood flooring beneath the cabinets. Our goal was to get the kitchen back up and running as soon as possible so we could stay there during the remaining remodeling projects and be able to fully function. Since we are installing our own heart pine flooring, Randy went ahead and place flooring just under the cabinets and refinished that with a quick coat of polyurethane. The plan is that by the time the kick plates, and finish trim are installed, the band of flooring won’t even be seen. The band of wood is mostly for even flooring height.
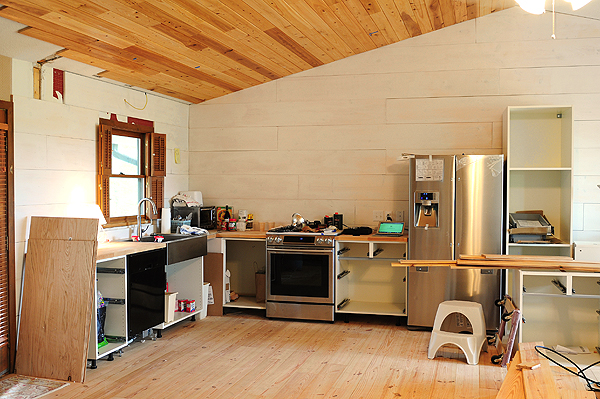
Cabinets were leveled, attached to the wall, and butcher block counter tops (also from IKEA), were cut and attached.
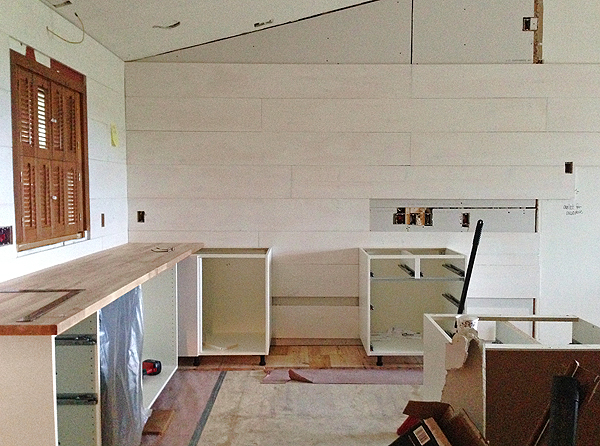
We cut the hole for the sink, then the sink and faucet were installed—by me! Yes! It was the first time I’d ever installed a sink or a faucet, and I have to say, it was pretty easy-ish. Not nearly as scary as I thought it would be.

Appliances were sorta kind placed, and Randy, and our handy, dandy son, Hank began installing the heart pine flooring we found at Pine Floors and More. I’ll give more details on the flooring later, but so far we’re tickled with how it’s looking, and are excited to see how it will turn out once it’s sanded and refinished. In the panorama below you an see how the kitchen is part of a larger room that will have the eating area and a living room space too.
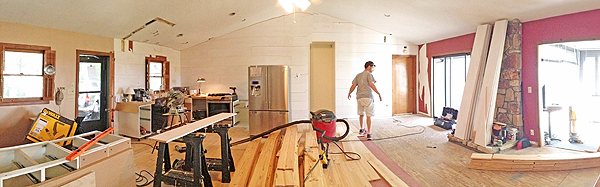
The cabinet over the fridge and tall pantry to the right of the fridge is positioned but not attached yet. For the time being there will be no upper wall cabinets, other than a cabinet over the refrigerator and the tall pantry cabinet. Open shelving will be everywhere else.
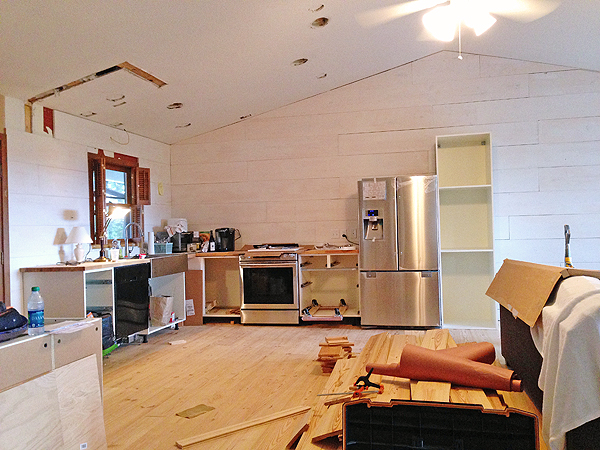
At this point we veer off of a typical schedule for a bit. That’s the beauty of DIY. If you want to change gears or need to for any reason, you can. You’re calling the shots, and doing most of the work, so you can plan and schedule to meet your needs instead of working around a slew of subcontractors. With that said, we stopped floor installation to get the section of ceiling installed over the kitchen area so we could get the electricians back to install the lighting.

The popcorn ceilings will be covered with 6″ cypress v-groove tongue and groove boards. It’s so lovely. As with the floors, I’ll be sure to highlight source, and how Randy refinished the cypress ceiling boards. 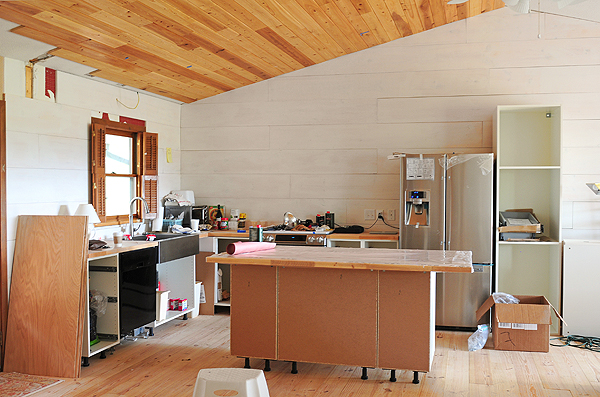

The island was roughly placed in position so the electricians will be able to place the pendant lights in the correct place. I’m so excited about the lights in the kitchen! They are fantastic lights from Barn Light Electric. Can’t wait to show them to you once they’re installed.
And that’s where we end this retreat remodel “during” update. Stayed tuned for more retreat remodeling fun! I’ll have details and sources to share in the next kitchen update, but if you have any questions in the meantime, please don’t hesitate to ask in the comments below or send me a quick email. If I know, I’ll be happy to share, or point you in the direction of someone who may be able to help.
Have a lovely day, and thanks for stopping by! xoxoxo


I am LOVING the kitchen so far! I can’t imagine what it must be like to do a reno like this, but someday I hope we get a chance at it!
How exciting- I can’t wait to see more.
Oh my goodness, Amy, those ceilings! Can’t wait to see how things progress; it’s already looking great!
I love it! The 12″ horizontal wall boards are spectacular, and I love that you opened up the kitchen. High five on installing the sink/faucet yourself, Amy! Can’t wait to see more!
I’ve been watching your “during” photos on Instagram and it’s nice to see the before. This is going to turn out totally FAB!!!
Love watching other peoples remodels, but I do not love living through them myself! Nice that your husband is so handy. It going to be gorgeous!
I love that ceiling! My dream is to one day completely do my house with Barn Light Electric lights. I can’t wait to see the finished product!
Looking good my friend! Can’t wait to see the lights all set up!
I LOVE YOUR RETREAT! Can’t wait to see it in person!!
You are so blessed… what a great project and space to call your second home! I hope to visit someday 🙂
I have to agree with everyone else. The work looks amazing so far. That’s a great space to work with and I’d be it’ll look great once it’s fully completed! Thanks for sharing. Looking forward to more.