A Handy Dandy Photography Tip
This post may contain Amazon or other affiliate links. As an Amazon Associate I earn from qualifying purchases.
Today, I wanted to share a quick photography tip. Please note, I’m not a professional. I’m learning as I go, just like many of you. Some things work. And some just don’t. But the little handy dandy tip I’m about to share works like a charm for me, time and time again.
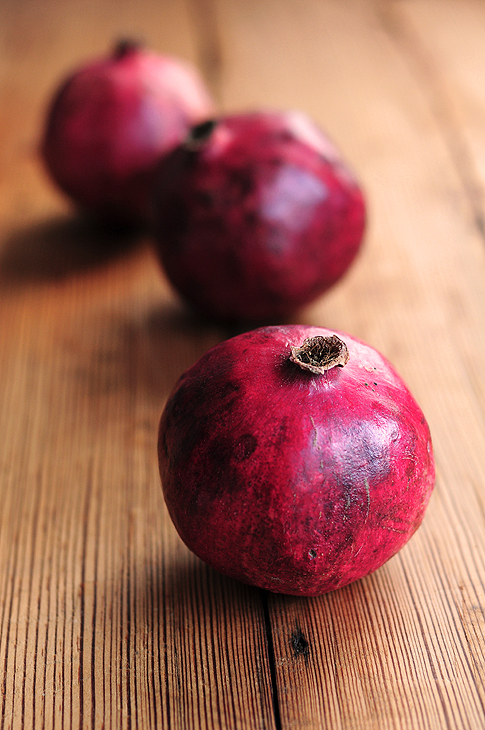
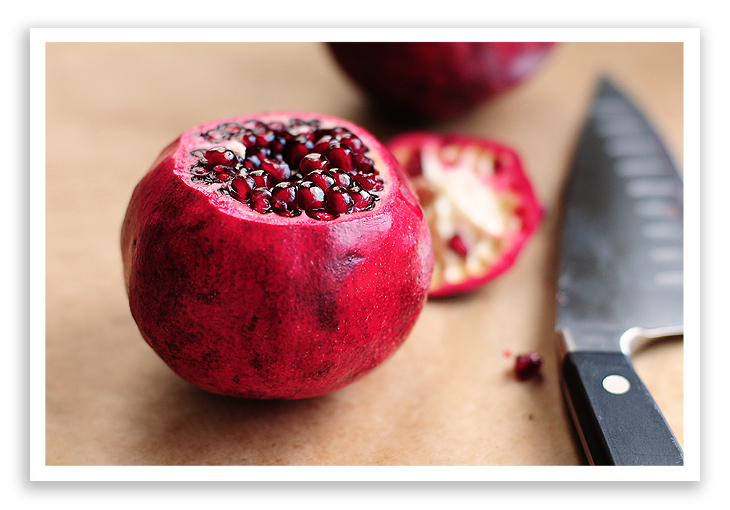
Recently I shot a series of photos for a post for Tasty Kitchen on How to Open A Pomegranate. Maybe you noticed them? Fruit and veggies are always one of my favorite foods to photograph. The colors and shapes are rich and alluring on their own, which make it easier to create a great image. Even so, sometimes, even with the most perfect subject, the lighting sometimes needs a bit of help.
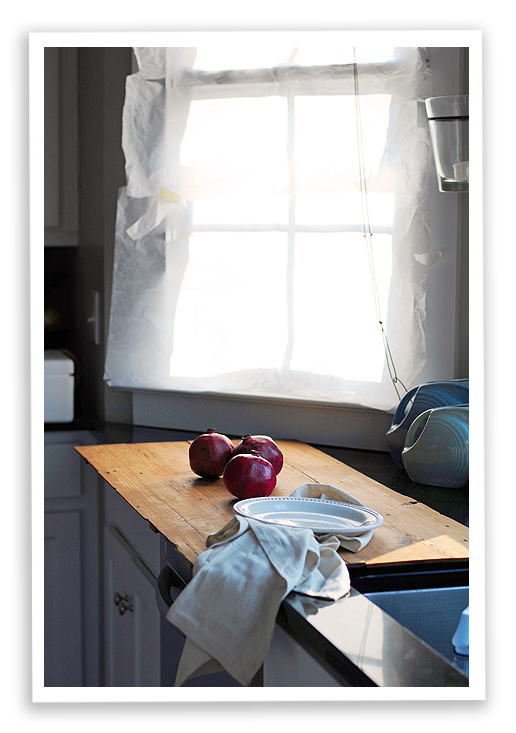
Plus, I have to admit, my kitchen is bathed in natural light, which for the most part, is mighty nifty. Yet, there are those times when the light is so harsh, it’s difficult to manage. Below shows my setup for the pomegranate photos.
(Please overlook the messiness. You’ll also notice the heart pine surface my husband made for me. Man, I love that man.)
It’s a pretty typical set-up I use for quick food shots. Notice the window? That’s handy dandy inexpensive white tissue paper taped to the window.
(Just how many times can one cram the words “handy” and “dandy” in one post?)
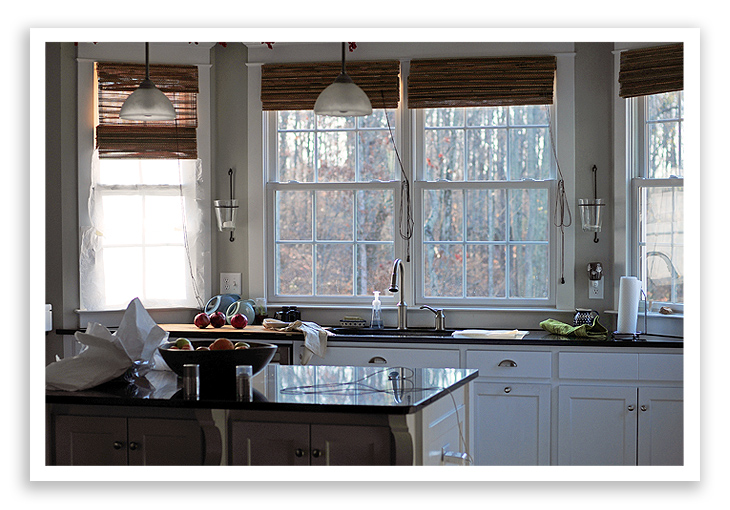
I have a wall of windows that offer light at just about any given point of the day. But as I said, it can be harsh, and also leave strips of shadows across the subject due to the grille/muntin bars from the window.
A simple fix is the tissue paper.
Handy.
Dandy.
Taped to each window, or just certain ones, I can control the light and create one huge light box in my kitchen. Here it shows tissue on only one window which in this setup is diffusing the back light, with the side light not being diffused. I could have easily diffused both directions of light for a different look as well. Other times, I’ll have all four windows taped up with tissue paper. It really does create a lovely diffused light.
And it’s cheap.
And it’s handy. And dandy.
Not-to-mention, it travels well.
Maybe you just cruised through a local drive-thru only to have the bestest cheeseburger ever? Want to catch a shot of it before it disappears? Grab your handy dandy tissue and tape to create a light box in your own car. Or maybe you’re traveling, and room service delivered one fine omelet that is looking a tad bit blown out in that early morning hotel light. You’re in luck! Grab that tissue and tape up what you need to capture the most perfect omelet shot ever.
It’s handy like that.
Try it out sometime and let me know how it works for you.
Have any simple photography tips to pass along? I’d love to hear em. I’m learning something new every day.


Great tip! I’m so going to do this all over one of my windows, what an awesome idea! Currently I am having my husband hold up white sheets or place mats to diffuse light, but SO smart with the tissue paper window!
For the moment my simple tip is to study photos religiously – good ones and bad ones, to evaluate what makes them rock or look bleggh. I just started a series about tricks I’ve come across for food photography, definitely going to your tissue paper idea out and see how it goes!
Wow! What a fabulous tip…thank you so much! Look forward to more of your posts. (I’m here via Jenn Cuisine’s Twitter post.)
Messy? You haven’t seen messy until you’ve seen my kitchen!
Beautiful and inexpensive. I love it!
Great tips! Your kitchen looks absolutely gorgeous. I only have little window…sigh.
Thanks for the Handy Dany tip. The diffused light came out beautiful.
Great photographs. I love your kitchen it looks very beautiful and all of the windows are great. This is a pretty simple tip I think I can actually manage to follow. Thanks.
oh…good idea! I will have to try this!
My kitchen gets great morning light, but usually I am wanting to take pictures in the afternoon. Its always a bit tricky. But I take my food all around the house to get the best shot. I have even had a cake perched on a chair in my bedroom. My husband came home and he didn’t know what to think.
Ps. I was looking for the messiness you mentioned…your kitchen looks pretty clean to me!
Thanks for the photo tip. I am learning as I go. I’ll take any hints anyone can give me!
Hi! I found you via Reluctant Entertainer–you know, through one of those handy-dandy links in the Comments section. It’s so nice to meet you!
Your lighting tip is a great one! Thank you very much for sharing that.
I hope to meet you at BlissDom next week!
Wow, so lucky with natural light in your kitchen!!! I am always running all over my house trying to find a little light! Luv the tip with the tissue paper…So simple and so perfect! Really enjoyed looking around your blog!
Great idea. Thanks for sharing it. I definitely need to work on my pictures. I have a hard time with the pictures I take at night in my kitchen. They often have a yellow tone. Any secrets for night time shots in the kitchen?
Kris — I’m not Amy, but have wrestled with color temperature, too. : ) If your camera has the option to change your white balance, playing around with that might help.
~Lynne
We have a white kitchen now, that is bathed in sunlight in the mornings; I got some really shear white curtains that work perfectly to diffuse light. Also, a tip I learned from Danielle Tsi during a photography workshop; she uses this light gray felt when the sun is really bright. I loved that idea, not only can you block light but you can iron your props right on it as well.
Tissue paper! Ha love the simplicity. In the car even better. I’m sure I’ll be stashing tissue paper in all sorts of handy dandy (couldn’t help myself)
places.
thanks for sharing this tip … Stumbled 2.11.11
Oh what a great trick – I was just (today!) thinking of what would be the best option to temper some of my bright natural light for photo shoots. Thank you so much, this is the least pain in the hinder to put together.
Cute Amy, but you didn’t finish your post with : Handy
&
Dandy
You are one lucky girl to have such a beauty of a kitchen! Thank you for sharing one of your secrets. That is awesome. You do shoot lovely photographs also.
AmyRuth
Great tip!
Very clever. You are a genius. 🙂
Great idea, and so handy … and dandy. I try to take my photos about one foot below my dining room window. Afternoon sunlight just streams into that window but like yours it can be a touch harsh. To compensate I use my low lying coffee table to balance the plate/fruit/veggies/kid hand and enough light cascades down without washing it out. Also, my coffee table is solid wood and gorgeous so I don’t have to much with a cloth. Unless the kid hand had something gross on it.
Hey Amy! Haven’t been by here in awhile — catching up on all your nifty posts. One thing I have found helpful is to have a way to bounce light into an area that’s in shade/shadow. I use this outdoors (since my neighbors would probably not be happy with me relocating their plantings) but it could apply indoors, too. My dad gave me a Lite Disc he got at a photo workshop. It’s a lot like those rectangular car windshield shades that you can twist & collapse into neat little circles. It has one side that’s a diffused gold color (warmer), & the other is a diffused silver (cooler). There’s probably a way to figure out a homemade solution, maybe with handy dandy tissue paper. Or sheets. Or napkins. ; )