A Handy Dandy Photography Tip
This post may contain Amazon or other affiliate links. As an Amazon Associate I earn from qualifying purchases.
Today, I wanted to share a quick photography tip. Please note, I’m not a professional. I’m learning as I go, just like many of you. Some things work. And some just don’t. But the little handy dandy tip I’m about to share works like a charm for me, time and time again.
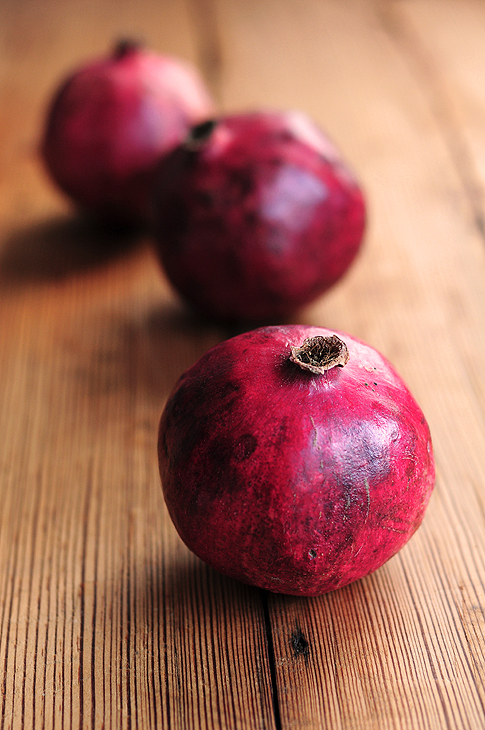
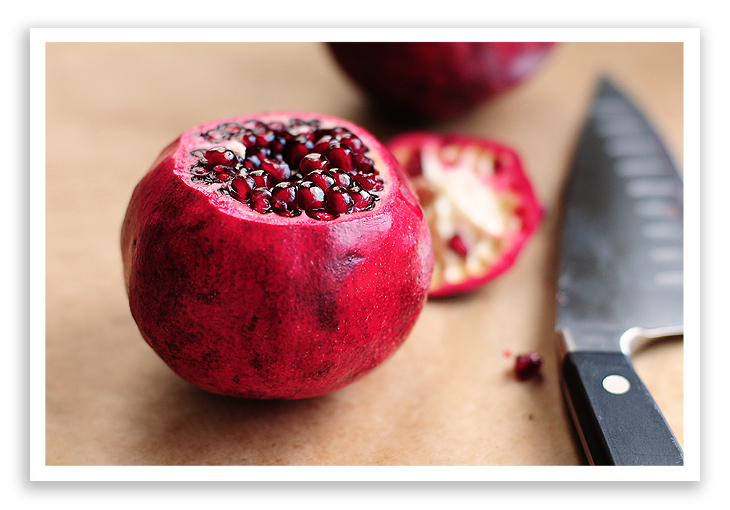
Recently I shot a series of photos for a post for Tasty Kitchen on How to Open A Pomegranate. Maybe you noticed them? Fruit and veggies are always one of my favorite foods to photograph. The colors and shapes are rich and alluring on their own, which make it easier to create a great image. Even so, sometimes, even with the most perfect subject, the lighting sometimes needs a bit of help.
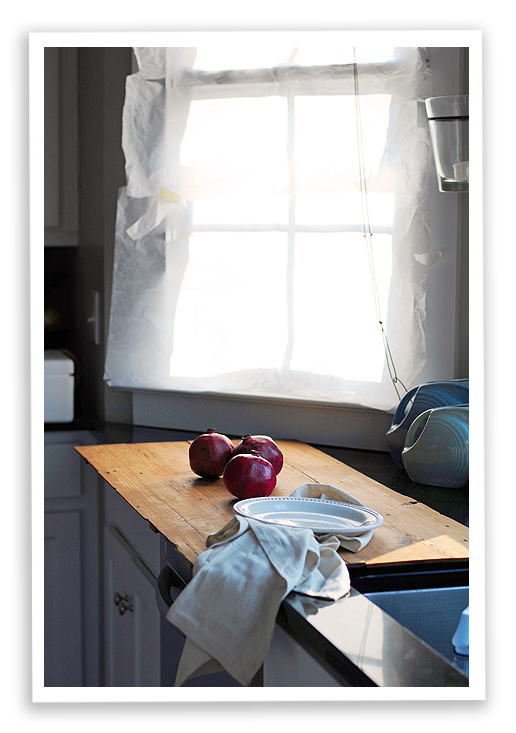
Plus, I have to admit, my kitchen is bathed in natural light, which for the most part, is mighty nifty. Yet, there are those times when the light is so harsh, it’s difficult to manage. Below shows my setup for the pomegranate photos.
(Please overlook the messiness. You’ll also notice the heart pine surface my husband made for me. Man, I love that man.)
It’s a pretty typical set-up I use for quick food shots. Notice the window? That’s handy dandy inexpensive white tissue paper taped to the window.
(Just how many times can one cram the words “handy” and “dandy” in one post?)
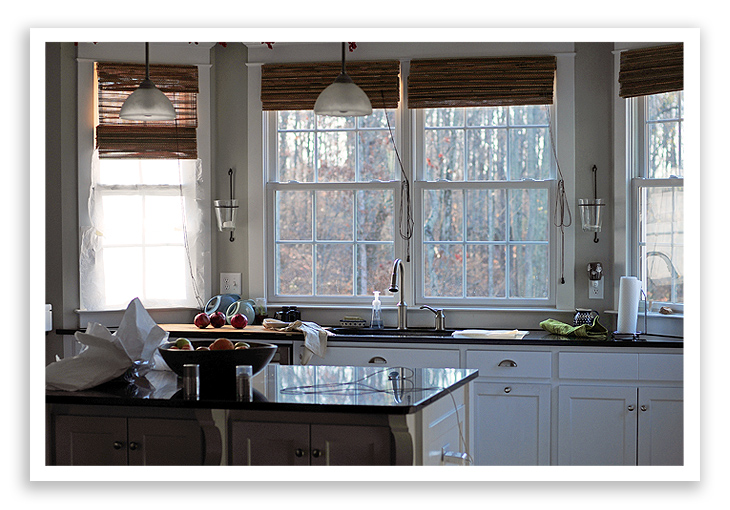
I have a wall of windows that offer light at just about any given point of the day. But as I said, it can be harsh, and also leave strips of shadows across the subject due to the grille/muntin bars from the window.
A simple fix is the tissue paper.
Handy.
Dandy.
Taped to each window, or just certain ones, I can control the light and create one huge light box in my kitchen. Here it shows tissue on only one window which in this setup is diffusing the back light, with the side light not being diffused. I could have easily diffused both directions of light for a different look as well. Other times, I’ll have all four windows taped up with tissue paper. It really does create a lovely diffused light.
And it’s cheap.
And it’s handy. And dandy.
Not-to-mention, it travels well.
Maybe you just cruised through a local drive-thru only to have the bestest cheeseburger ever? Want to catch a shot of it before it disappears? Grab your handy dandy tissue and tape to create a light box in your own car. Or maybe you’re traveling, and room service delivered one fine omelet that is looking a tad bit blown out in that early morning hotel light. You’re in luck! Grab that tissue and tape up what you need to capture the most perfect omelet shot ever.
It’s handy like that.
Try it out sometime and let me know how it works for you.
Have any simple photography tips to pass along? I’d love to hear em. I’m learning something new every day.




I am moving in with you as I need that kitchen. It is handy and dandy
Great tip – but i have to say i LOVE your kitchen! Fabulous kitchen!!!
wow thanks for the simple tip. I have just purchased my first camera in 10 years and I’m having a great time learning to use it. I purchased it to take with me on a holiday to Italy. This little tip is fabulous because I can fold a square of tissue into the pocket of my camera bag and take my light box with me everywhere. there’s going to be so many great things to photograph in Italy, I just can’t wait to get going.
best wishes
Helen
Hi
I just read Lynne A’s (may 8) suggestion about the Lite disc. I wonder if sheets of foil gift wrap in gold and silver would work? I might have to give it a try, I’m sure to have some in my gift wrap box.
Amy your photographic surface is a great idea, I could use this idea to create a selection of surfaces that are flat and portable for photographing around my home and neighborhood.
thanks for the tip ladies, now I’m itching to get home so I can try these ideas out.
best wishes
HI Amy, I love your photos and the tissue paper is a great tip. What lovely diffused light it brings. Your photos are so sharp, I was wondering what camera you use? and do you use lightroom?
I’d also love to know the camera and photo software you use!
I love this tip! And now I’ve gotten to wondering what the effect would be if you tried colored tissue…I love photography but my main thing is using different angles, lighting and editing to change things up a bit. Thanks for the idea–I’ll have to try it with different colors to see if I like what I get from it!
I love your photography and now also your kitchen. It’s so beautiful! Thank you for sharing this tip, I shall try it out tomorrow itself.
Hi Amy! Thanks so much for the tips…I’m always looking to improve my food photography and lighting is key! I just moved into a new home and I now have more lighting, so now I know what to do with it!
Great tip! I use that too and find it great. Although shooting food in your kitchen is handy ( dandy), a northern-faced window is ideal when using natural light.
And I have to say that I’m absolutely IN LOVE with you kitchen!! Oh man, I wish I had a similar one!!
Have a great day!
P.s National Cinnamon bun day in Sweden today.. far away but gives you a reason for baking; recipe on my blog if you want to have a peek 😉