DIY Dry Erase Board (aka Wipe Board)
This post may contain Amazon or other affiliate links. As an Amazon Associate I earn from qualifying purchases.
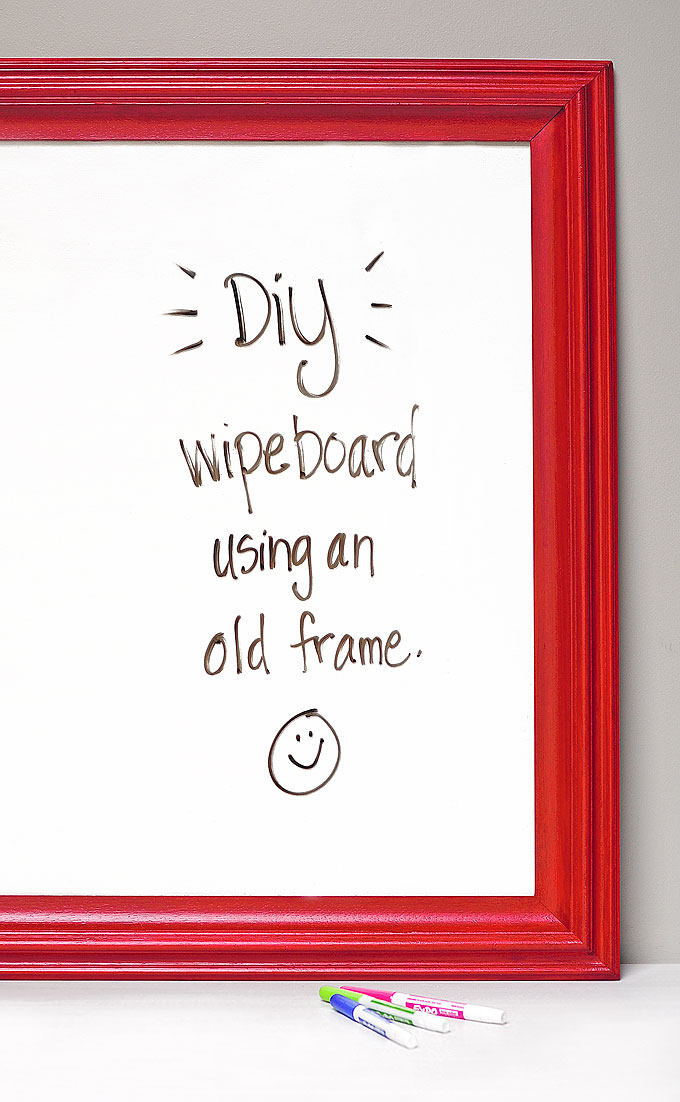
DIY projects are not only a necessity at times, but something fun and enjoyable. Saving money is certainly a perk of most DIY projects, but I find it rewarding too. Especially when I can take something and recycle, or as some call it, “up-cycle” it for another use. Although carving out the time for all the projects I’d like to tackle is another thing.
As we’ve been trying to clean out closets and our attic space, I’ve added a few new projects to my list. One being a bunch of old frames that I’ve kept in hopes of being able to use them for a masterpiece some day. With our daughter heading to college in a few months we’ve been collecting ideas for her dorm room, mostly on Pinterest. From organizational tips and tricks for small spaces, to fun and hip decorating ideas. Pinterest has a plethora of ideas to keep your head spinning. I decided to combine both organizational and hip into one and make a handy dry erase/wipe board using one of the many frames collecting dust in our attic.
Of course I had to organize my thoughts and inspiration ideas with a Pinterest board. As you can see, I found a ton of great ideas, and colors. Since she’s heading to The University of South Carolina, I decided to go with basic red and white, with deep red for the main frame color. Plus, I think a pop of red is good to add a bright spot of vibrancy for any space.
Next, I headed to Home Depot and straight to the Glidden paint color section. I knew I wanted a primer and paint in one to simplify the process by not having to prime separately, so the Glidden Duo® Paint + Primer was perfect. I zoned in on the reds and quickly narrowed it down to either Red Delicious or Deep Garnet.
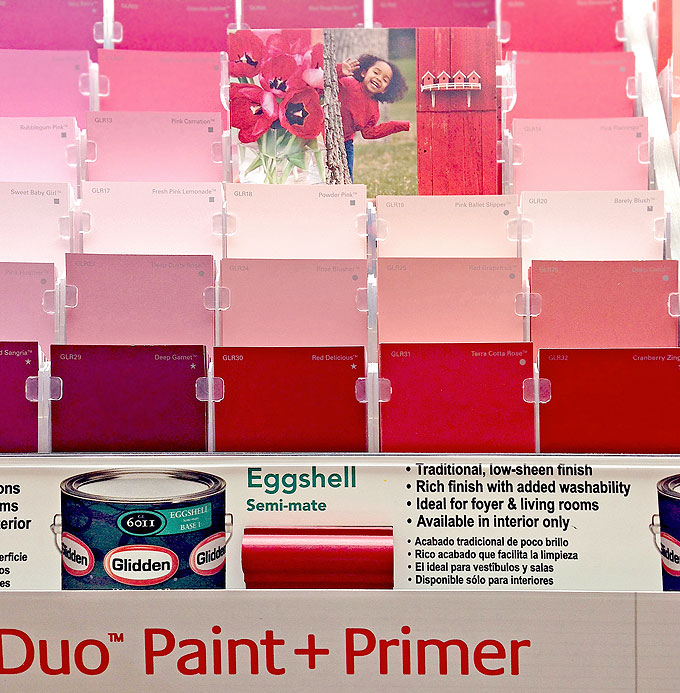
Glidden’s simplified palette certainly helped in making the color selection process much easier. Sometimes too many choices can be quite overwhelming.
I originally planned on purchasing a quart of one color, but was happy to find that they sell smaller sample color amounts of Glidden Duo® Paint + Primer in the Eggshell finish.
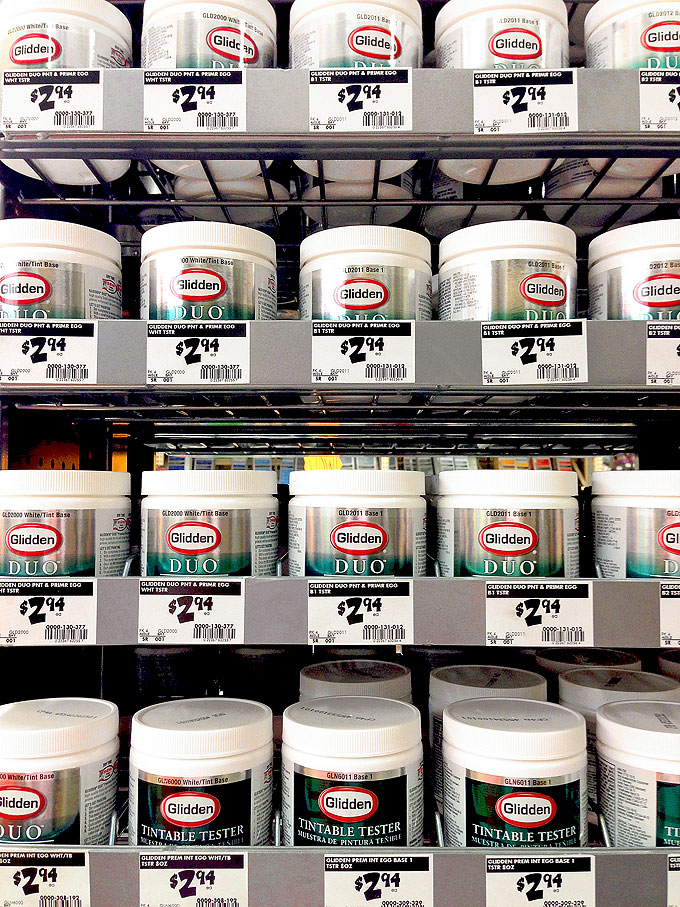
These smaller sample sizes were great for my small sized project, so I decided to get both.
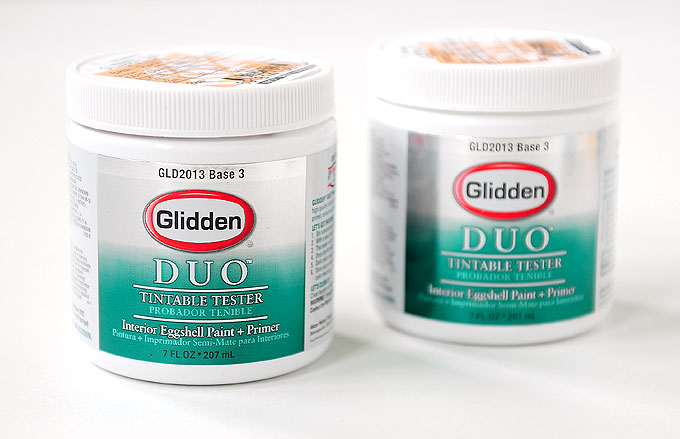
At $2.94 each I would save money in gas alone going ahead and purchasing sample sizes in both colors. Plus, with four more years of garnet to go, I knew I’d need more later for something USC related. I grabbed some other supplies and headed home to get started on this fun little project.
Would you like to see how to make a DIY Dry Erase Board/Wipe Board? Let me show you.
Supplies needed:
- old frame, including the glass and backing
- color(s) Glidden Duo® Paint + Primer (I used red for this project.)
- white Glidden Duo® Paint + Primer (leftover from a previous remodeling project)
- paint brush(es)
- dry-erase/wipe board pens
optional supplies that may be needed:
- sandpaper
- small foam paint roller and paint tray
- glazing staple thingies, staples or small nails
- picture hangers to hang once finished
The basic process:
First I began by taking the frame apart, by removing the glass and backing.
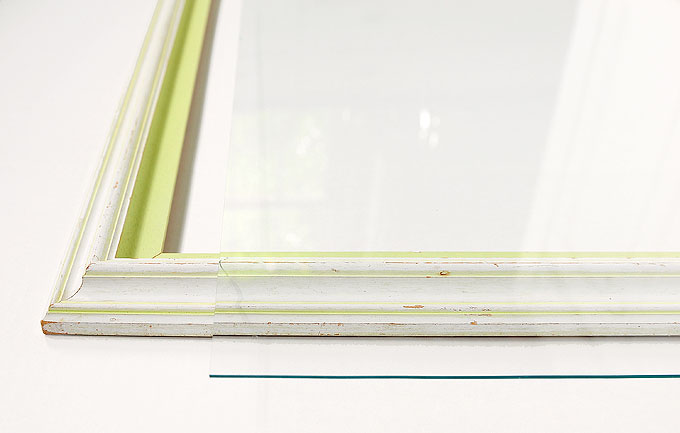
The glass was cleaned and the frame was wiped down. The frame I used didn’t need any sanding, but if you’re using a frame with chipping finish or very glossy finish a light sanding will help the paint adhere better and result in smoother finish.
Once the frame was prepped for painting I applied a little of each of the two reds to see which I liked the best. (You’ll notice I used inexpensive chip brushes to test colors. Chip brushes are great for small jobs like quickly testing colors and can be quickly rinsed and reused. Chip brushes are a good thing.)
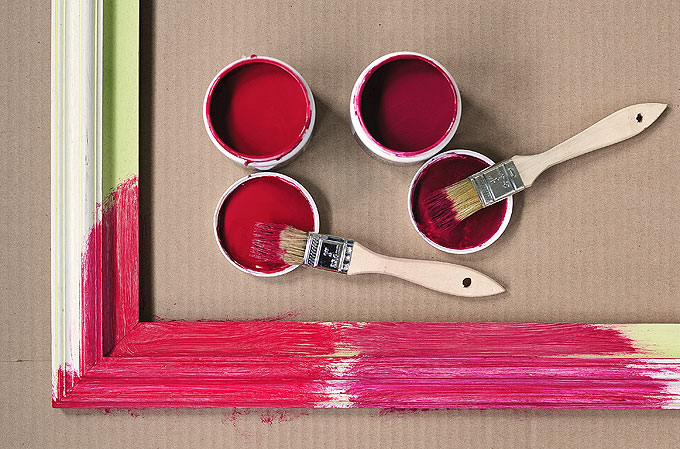
Red Delicious was the winner! The Deep Garnet was a bit too raspberry-ish for what I was going for. A full coat was applied (with a nicer brush). After the first coat dried, 2 more light touch up coats were applied.
Next, using the leftover white paint from another project, I painted the “backing” that came with the frame. I’m not sure the proper term for what I’m referring to as the backing, but it is the stiff board that is placed behind the artwork to hold it in place. Sometimes it’s a simple piece of cardboard, or foam core. The backing in the frame I used is a bit thinner than cardboard, and the artwork was actually adhered directly to it, so I flipped it over and painted the backside using a small foam roller.
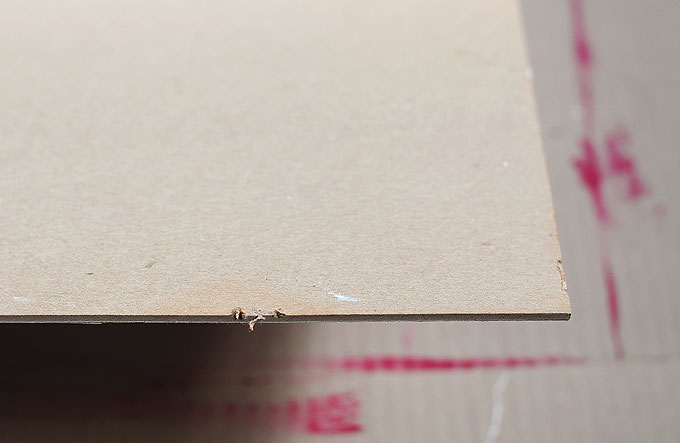
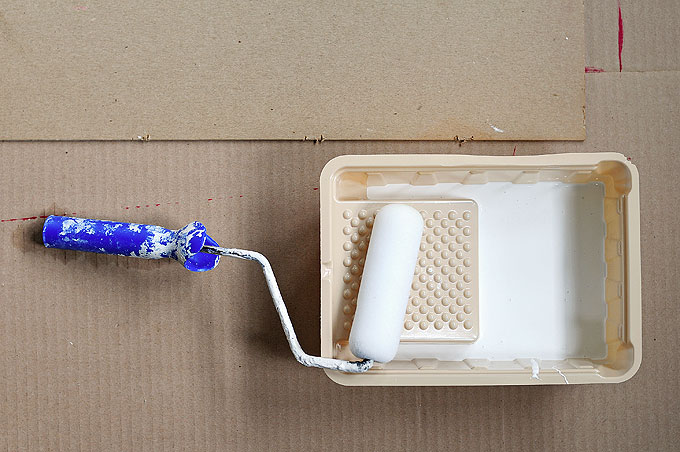
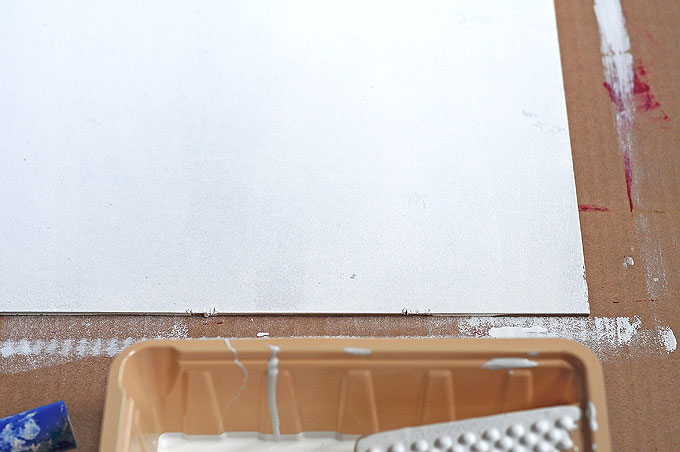
A few coats were needed for good solid white. This white backing will be the wipe board background. I used white, but any light color (yellow, pink, light green or blue) that writing will show up on will work.
(Note: If your frame doesn’t come with a sturdy, paintable backing, white foam core could also be cut to size and used. If white foam core is used, this step can be skipped!)
Once the frame and backing are totally dry. Place the glass (cleaned first) back in the frame, followed by the white painted backing (or foam core).
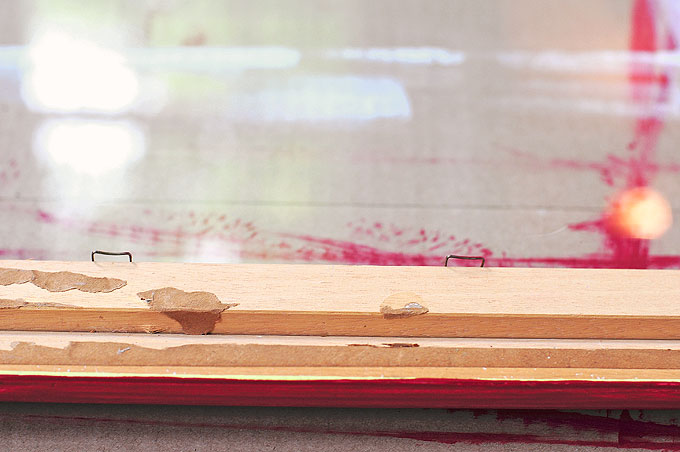
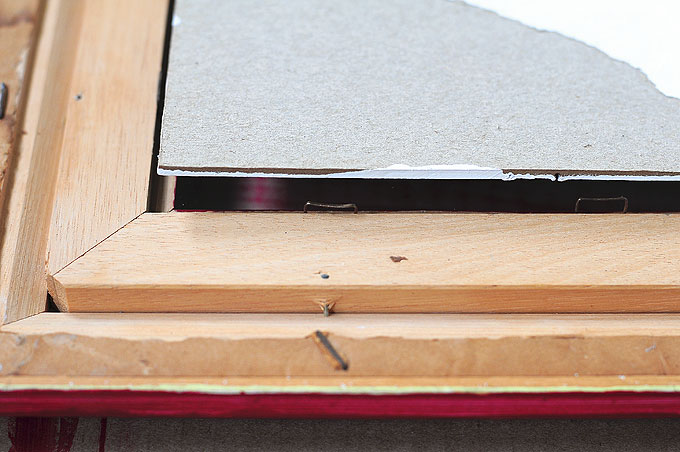
Secure them back in place.
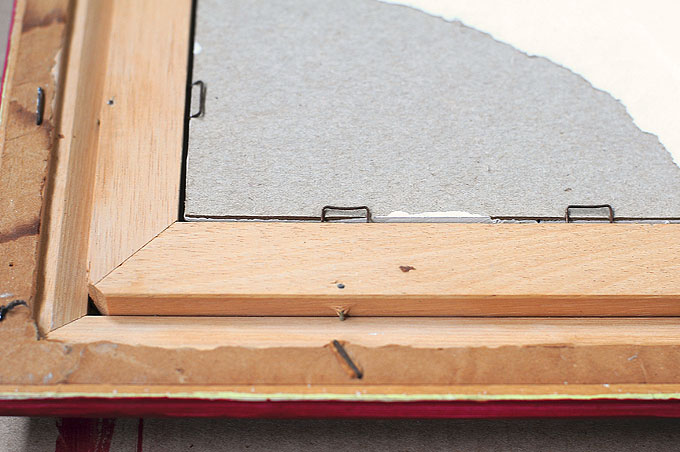
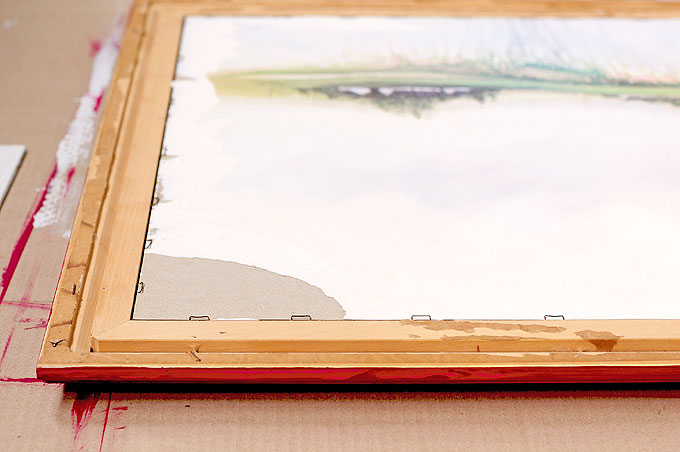
The frame I used has framing staples that bend up and down to hold things in place.
If your frame doesn’t have staples or another way to hold the glass and backing securely in place, use glazing points/tacks, staples, or small finishing nails. Glazing points/tacks (aka glazier points) are easy to find in most home improvement stores or framing departments of major craft stores. Staples or small finishing nails could also be used, but I find them to be a bit more awkward to work with.
Once everything is secure, the back can be covered with kraft paper if desired (I skipped that), add a picture hanger if needed, and you’re done!
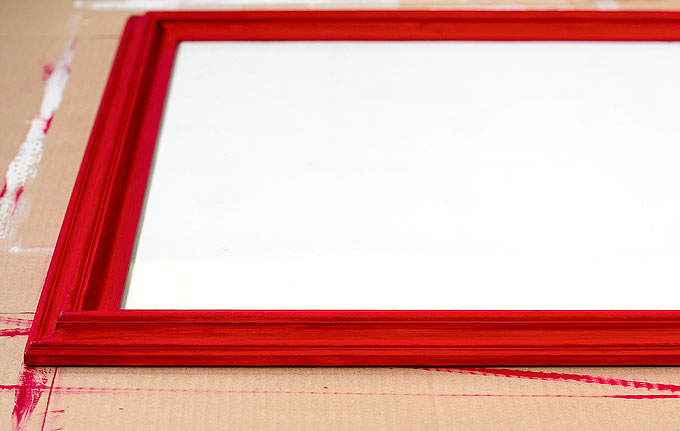
The glass acts as the wipe board so you can write directly on the glass using dry erase markers and easily wipe off with a paper towel. Now it’s ready for writing and wiping all kinds of fun stuff.
How easy was that?
What a great addition this new dry erase/wipe board will make to a new dorm room, and what a fantastic idea for gifts. I can think of all kinds of people who could use one of these. That pile of empty frames may dwindle down to nothing before too long.
Do you have empty frames sitting around? Do you have other ideas on how to recycle old frames?
If you try this easy DIY project, please come back to share how it turned out and guess what? You can enter to win a sweepstakes for a $100 Visa Gift Card!
***This sweepstakes has ended.***
Sweepstakes Rules:
No duplicate comments.
You may receive (2) total entries by selecting from the following entry methods:
Leave a comment in response to the sweepstakes prompt on this postTweet (public message) about this promotion; including exactly the following unique term in your tweet message: “#SweepstakesEntry”; and leave the URL to that tweet in a comment on this postBlog about this promotion, including a disclosure that you are receiving a sweepstakes entry in exchange for writing the blog post, and leave the URL to that post in a comment on this postFor those with no Twitter or blog, read the official rules to learn about an alternate form of entry.
This giveaway is open to US Residents age 18 or older. Winners will be selected via random draw, and will be notified by e-mail. The notification email will come directly from BlogHer via the sweeps@blogher email address. You will have 72 hours to respond; otherwise a new winner will be selected.
The Official Rules are available here.
This sweepstakes runs from 7/7/14-8/18/14.
Be sure to visit the Glidden Paint brand page on BlogHer.com where you can read other bloggers’ posts.


I do not have any old frames at home right now but I bet my grandma does. I will be sharing this idea with her so we can do this project together.
shared on twitter
I love your idea! I will have to give it a try!
tweeted
I don’t have any frames but now I wish I did.
I dont have any old frames hanging around but I have been looking for one at garage sales to make an earring holder! But I want a certain style and size!
Very cute idea! Wish I had the wall space for one.
What a great idea! I am not much of a painter but I think I could do this project.
i posted a tweet
I love the idea of using old frames for projects! I recently used a frame I found at a thrift shop to make a magnetic makeup board for my bathroom. I used paint I had leftover from the bathroom trim, and it looks just like it belongs there on the wall!
I will have to try this. My boyfriend and I went to a paint party a few months ago. I want to frame the paintings that we did!
tweet
my idea would be to use a cool frame to make a display for you kids’ art work
i tweeted
I refinished an old desk into a vanity for my daughter! AFter a LOT of work, it turned out beautifully!
Tweet
This would be a great idea for my office. (I don’t have children at home any more) I would be able to jot down reminders that could easily be wiped off when I no longer need them. Now I just have to find a frame since I don’t have any unused ones around.
Tweet
i would spray paint them and put recycled material in them to make art
tweet