Polymer Clay Homemade Christmas Ornaments
This post may contain Amazon or other affiliate links. As an Amazon Associate I earn from qualifying purchases.
These polymer clay Homemade Christmas Ornaments are a fun project and will make a great addition to a tree or tie one onto a gift for extra special gift wrapping.
Are you familiar with polymer clay? If not, and you’re the crafty diy type, you should be! It’s such a fun and easy medium to work with. It’s pretty inexpensive too, which is always a good thing. You can create so many things with polymer clay: jewelry, figurines or simple Homemade Christmas Ornaments, like these I’m sharing with you today. Then bake to harden it up right in your own oven in about 15 minutes. It’s so easy! Polymer clay comes in so many different colors and can be painted as well.With the holidays upon us I decided to make some homemade Christmas ornaments that can also double as a gift tag. They are very quick to make and the cost are minimal. These ornaments would be a great afternoon craft project for a group of kids or perhaps a ladies coffee get together? How fun would that be?
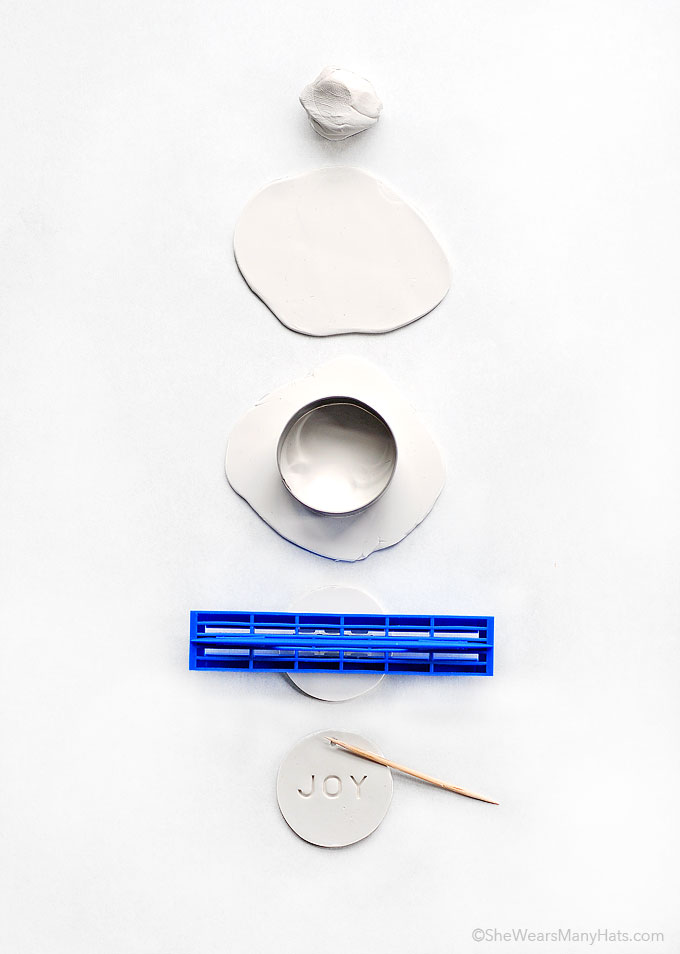
I like simple things, so I made a circle ornament with “JOY” gently pressed in the center, a little hole was made with a toothpick, and once baked, the edges were painted with gold leaf paint. To hang the ornaments I used a cotton twine, but a thin ribbon or ornament hook good be used as well. They are super cute and simple, and as I mentioned before would be perfect to tie onto a gift as a little something extra special.
Polymer clay ornament supplies:
- baking pan
- baking parchment or aluminum foil
- polymer clay (like Sculpey III)
- a smooth/flat surface to work on
- rolling pin (or something that could double as a rolling pin like a glass or vase)
- small round cookie cutter(s)
- mini alphabet stamps*
- toothpicks
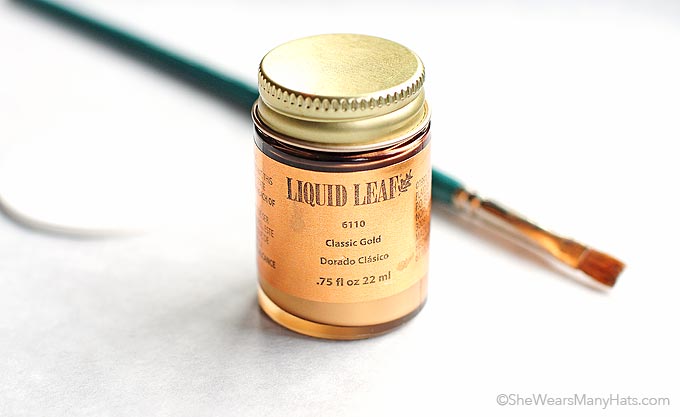
- gold leaf paint (or acrylic paint)
- paintbrush
- string
(I purchased this set, which includes the circle cookie cutter and alphabet stamps, along with some other fun tools: Walnut Hollow Clay Embossing Set)

 How to make polymer clay ornaments:
- Preheat oven to polymer clay instructions. (If using Sculpey III that would be 275-degrees F.) Line baking pan with parchment paper or aluminum foil.
- Begin by softening up the clay by kneading it in your hands until it’s pliable and easy to work with.
- Next, using the rolling pin, flatten out the clay to the desired thickness on a smooth flat surface.
- Cut shapes out of flattened clay with cookie cutter.
- Press word of choice into ornament using mini alphabet stamps.
- Use the toothpick to gently poke a hole through the ornament where you want to hang it from.
- Place prepared ornaments onto lined baking pan. Bake according to polymer clay instructions. (Is using Sculpey III, bake for15 minutes for 1/4-inch or less.) Remove from oven and allow to cool.
- Once cool, paint as desired. Allow to dry.
- Thread string, ribbon or ornament hanger through hole, and hang!
 Not only can you create these Christmas ornaments right at home but you can have a joyful time doing it! And I hope you do just that!
You may also find these Christmas tags and shopping list (download for free!) helpful:
Christmas Goodie Bag Tags
Nice and Simple Free Christmas Gift Tags
Free Printable Christmas Shopping List
Happy holidays and Merry Christmas!
(This post includes affiliate links.)


These are so simple and yet so cute. I would never know that they were homemade. Thanks for sharing such a great idea!
Absolutely gorgeous, Amy!
Thank you, sweet friend!
These look awesome, Amy!
Thank you, Ashley! They are super simple.
These are SO gorgeous! I can’t wait to make some!
I hope you do! I think our daughter will be wanting to make some too when she gets home from college. They are fun and easy!
Oh I just love these! They’d make such a beautiful garland too!
I love these ornaments Amy. And the gold at Christmas makes me think of the Wise Men gifts. Really beautiful and meaningful.
I just found these ornaments and love them! I am hoping to make them for christmas gifts for some family and neighbors. I just wondered if you need to seal them or apply any sort of varnish after completion?
I did not seal them. I would think it’s okay to do that but I did not seal ours.
Love these! How did you paint so perfectly inside the letters?
These are SO gorgeous!