How to make a customized charger
This post may contain Amazon or other affiliate links. As an Amazon Associate I earn from qualifying purchases.
It’s craft time! Learn how to make your own customized charger in no time. It’s fun and easy to do.
A few weeks ago I enjoyed a weekend with a group of wonderful ladies, who also happen to be fellow bloggers. We cooked and shopped and cooked some more. It was a fun and relaxing weekend. Of course, with a group of bloggers, at most times just about every available outlet was occupied with an assortment of phone and computer chargers.
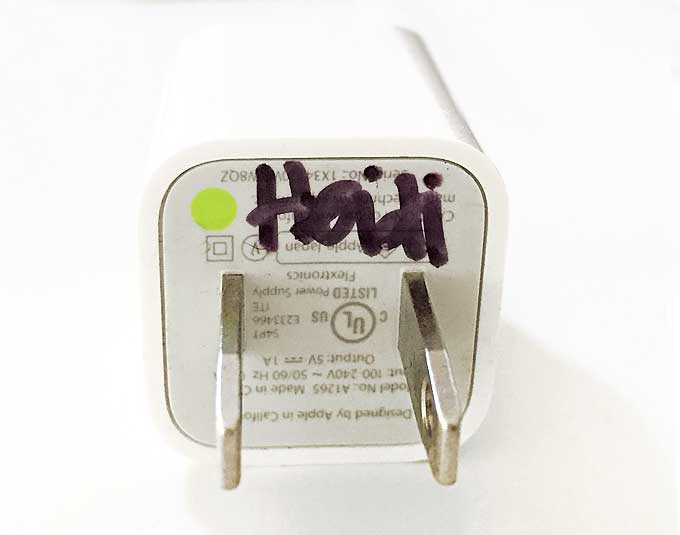
A couple of days after I returned I was sitting at my desk and noticed something written on phone charger.
Yep. I think of Heidi every time I go to charge up. Sorry, Heidi.
The irony is that around our home everyone would tell you that I’m the one always whining about my charger being snagged. It’s never where I leave it. So when I realized that I’m just as much a charger snatcher as the next, I decided to make an effort to mark my charger a bit more clearly, especially in a way that I wouldn’t have to worry about my husband or son wanting to borrow it. Ya know, girly it up a bit.
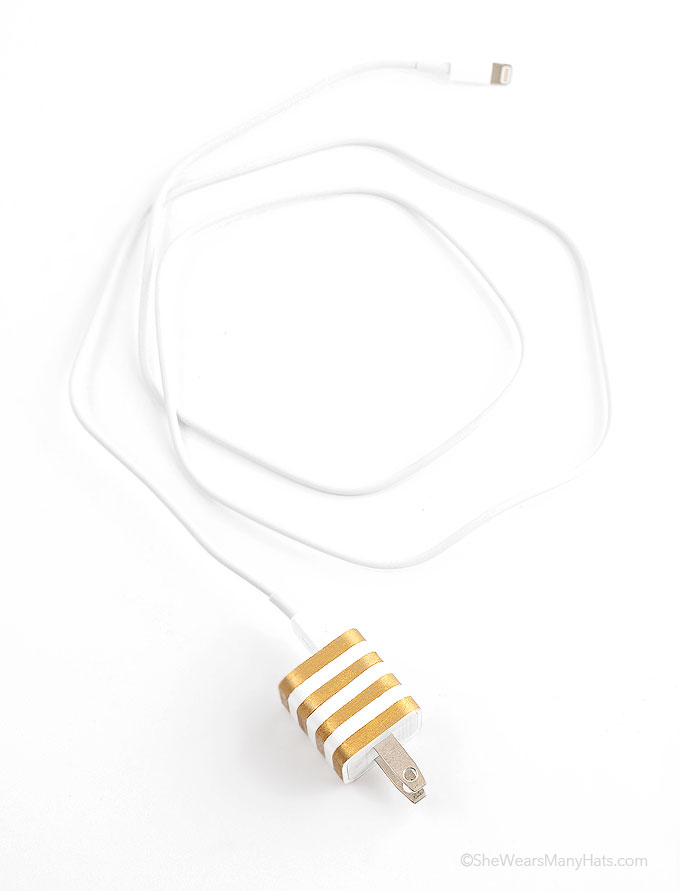
Ergo the gold leaf. And the stripes. Dare they snag my Kate Spade-inspired customized phone charger now.
Wanna see how I did? It’s super easy.
Begin with some simple supplies:
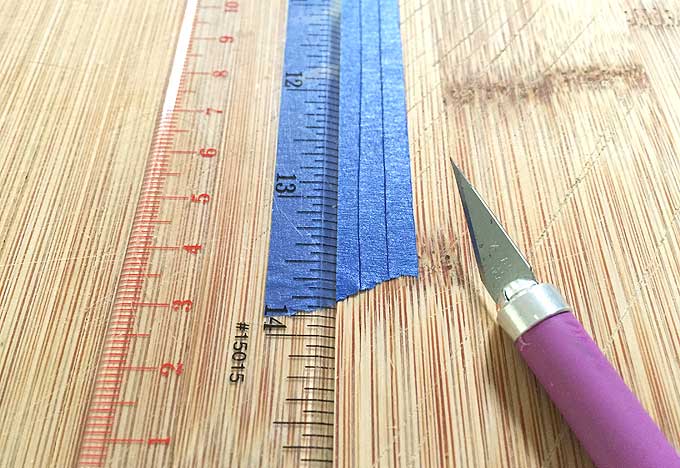
- painter’s tape
- utility knifex
- ruler or straight edge
- gold leaf paint that works on plastic surfaces (or other desired acrylic paint color)
- paint brush
The steps are easy:
- The project was begun by cutting strips of painter’s tape to the desired width of the stripes. Small round labels for polka dots, or a different pattern of stripes could have easily been used. I decided on basic stripes.
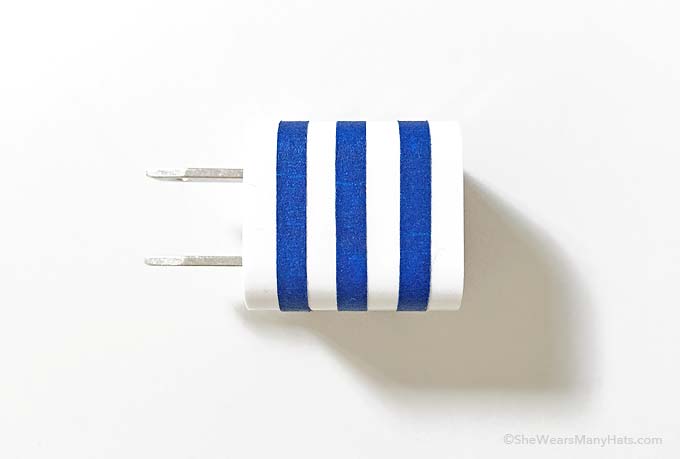
- Next, the small strips of tape were carefully attached around the charger plug. It was quick. Maybe 2 minutes? It isn’t perfect, but I don’t think anyone will be examining it that closely.
- Once the striped pattern was set, gold leaf paint was used to paint the exposed plug areas. It was allowed to dry. Then the tape was removed to reveal pretty gold stripes.
That’s it! How easy is that?
I’ve been using my girly charger for a couple of weeks now and guess what? It has yet wander away from where I left it. Amazing how that works, huh?
I hope you’re inspired to make your own customized charger too! Let me know what fun designs you come up with. I’d love to see them as I’m thinking about customizing my computer charger next.
Happy crafting, y’all!


Your charger looks great. I was inspired! I ended up putting Mary Engelbreit stickers on mine.
What a cute girly idea! I’m going to have to copy you on this one! Hope you have a great day!
As evidence of the approaching holiday season I expected to see some big plates that were customized. I like this better! Easy and so cute and a great idea before my youngest comes home this weekend for a short visit. You know why. 🙂
Love this to pieces! 🙂 I use washi tape and write on it just so I can keep straight what cable is what but this is much cuter!