Fancy Coloring Art Project
This post may contain Amazon or other affiliate links. As an Amazon Associate I earn from qualifying purchases.
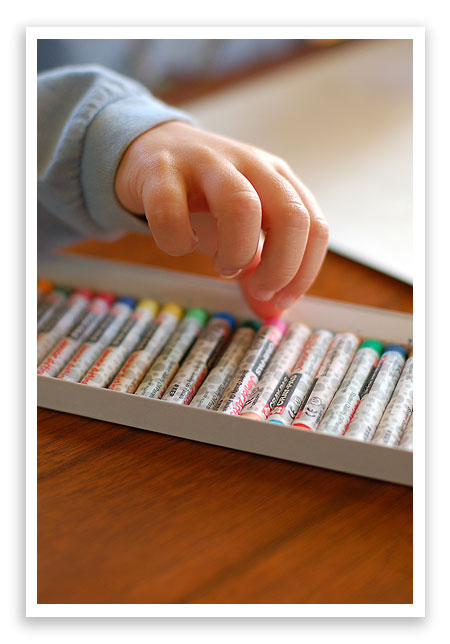
Looking for a gift idea that will allow your children (or yourself) to flex your creative wings? Or just an art project for a rainy day?
Here’s an easy one, oil pastel self-portraits. No liquids are involved (so no spills!) and the project can easily be stored away if not finished at the first sitting to return to later. No expensive supplies. No special techniques. It’s basically fancy coloring. So whether you’re 5 or 85…4 or 94…3 or 103…well…if you’re 103 and can still color…well then…you rock!
You don’t have to make it a self-portrait, any theme or topic would work. We chose self-portraits because it’s always fun to see how people view themselves, plus it was a nice change of pace to the usual photo portrait for the grandparents. But if grandaddy is a fisherman, you could draw him a picture of the “one that got away,” or maybe a picture of his boat. Or if Aunt Judy is a renowned baker? What about a picture of her famous chocolate chip cookies? You get the picture.
Again, self-portraits are always fun and you could begin, or add to an existing portrait gallery with an original work of art. My children created these a few years back for my parents, who can now say they have an official portrait gallery like no other art museum around. Priceless.
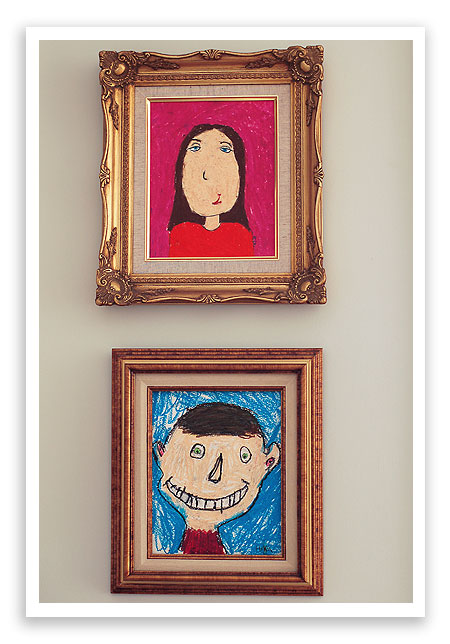
Remember this is supposed to be a fun, creative project. Achieving the perfect or realistic portrait is not the point. I’m pretty sure my son’s ears have never looked like that before but it’s a cute picture. It’s neat to see different styles and interpretations emerge at such a young age.
What you’ll need to get started:
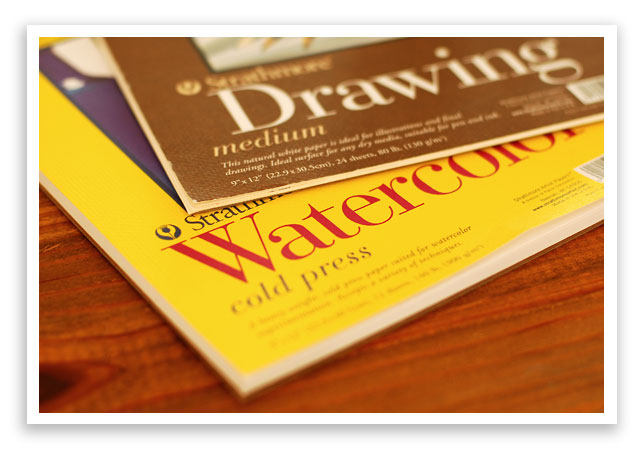
– art paper (something medium to heavy weight and acid free; watercolor or medium drawing paper works well; we used 9 x 12″ and it was around $7-$10 for a pack) and some scratch paper for practice
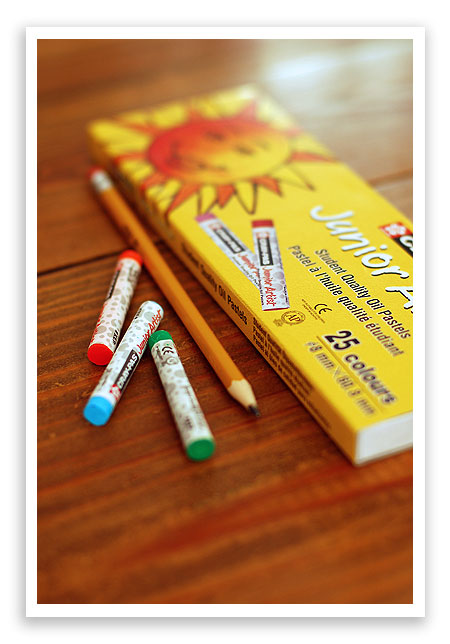
– oil pastels (nothing expensive; this pack was around $5) and pencils w/ eraser
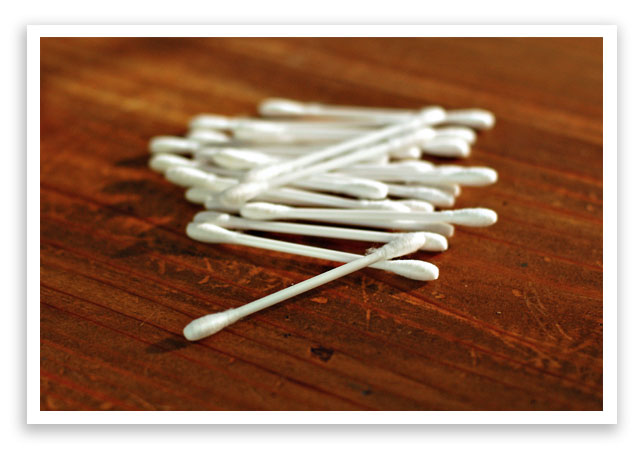
– cotton swabs (because it’s always important to have good, clean ears when creating a masterpiece)
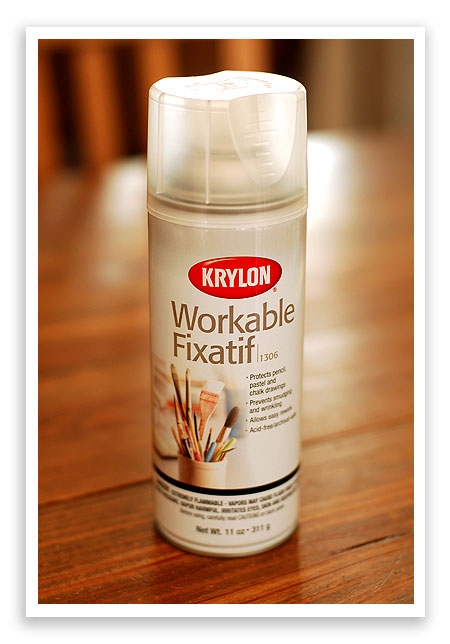
– spray fixative
– framing (since you’ll be using spray fixative, you don’t have to use a frame with glass; if you choose to use a frame with glass you’ll need a mat or the oil pastel, even with fixative applied, will stick to the glass)
And of course a willing artist. My good friend’s sweet little daughter, Mary Helen, was all about coloring – what a great artist. Watch as she shows us how…
Here we go!
Step 1: You may want to begin by doing preliminary sketching on some scratch paper to practice, compose your picture and think about what color choices you will use in the final. This step isn’t necessary but some artist like to take some time to think it though.
Step 2: When ready to draw final, lightly sketch portrait (or whatever the artist has decided to draw) on the art paper. If mistakes are made, you can easily erase just don’t go crazy digging into the paper.
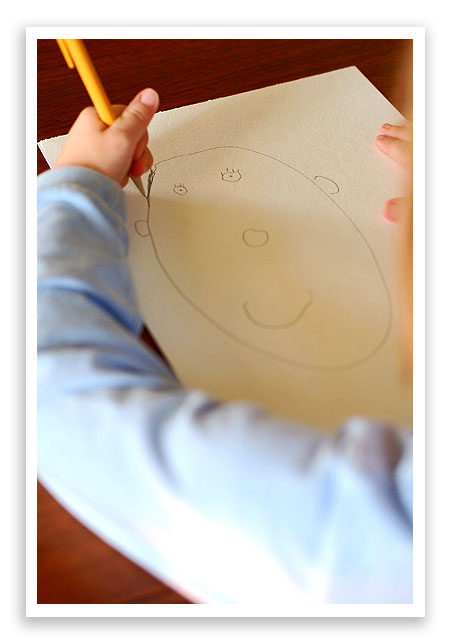
If you’re drawing a portrait try to fill the paper with the face. Add any details or decorations you’d like.
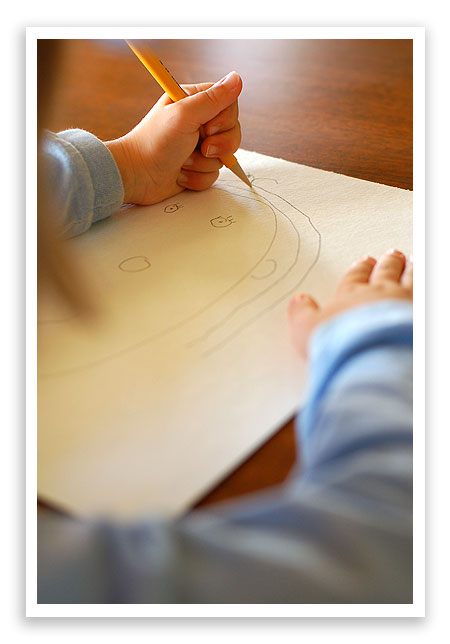
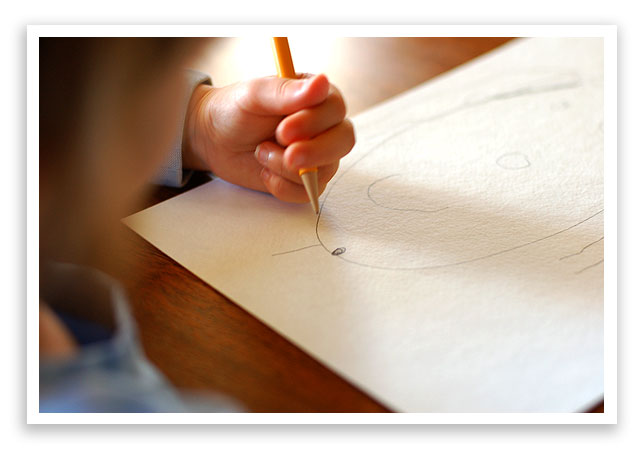
Look, she’s drawing her cute little dimple.
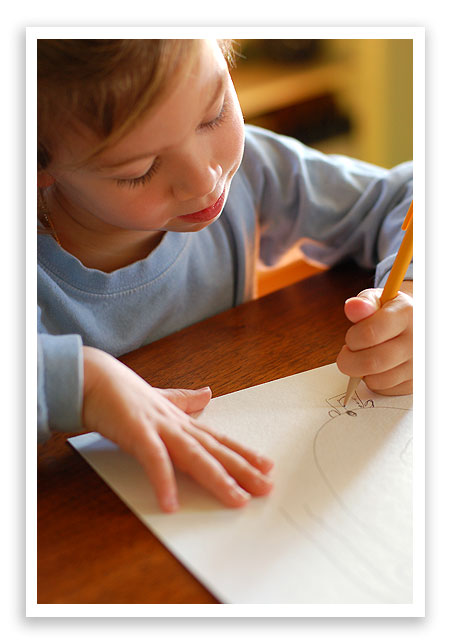
What a stylish shirt Mary Helen.
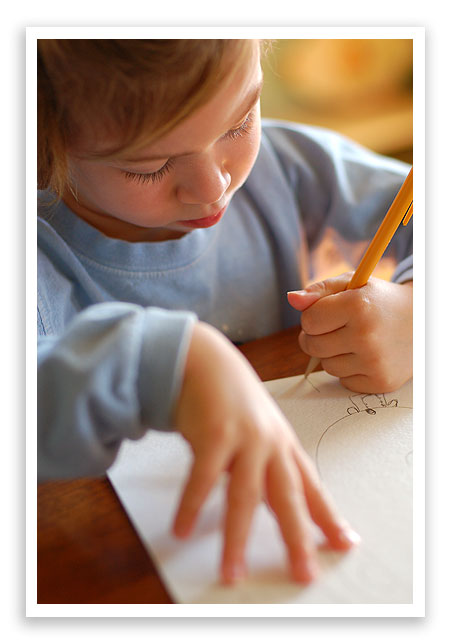
Just take your time.
Step 3: After sketch is complete, begin “coloring” with the oil pastels.

Oil pastels are quite a bit softer than crayon so it may help to practice a tad on the scratch paper to see what happens when you press down. Since there is no point, the edge of the pastel will have to be used to get into smaller areas.
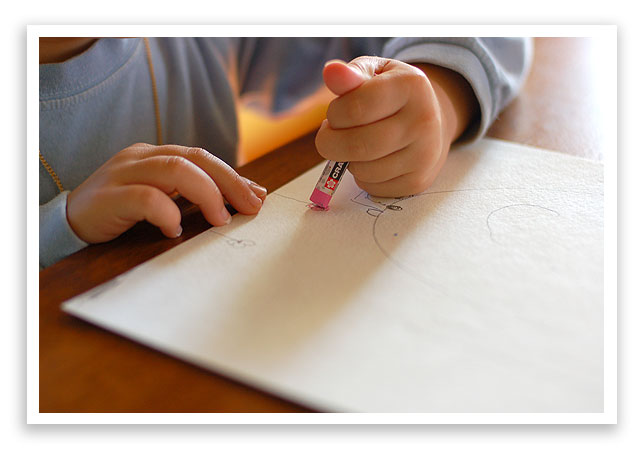 Be sure to fill in all areas, covering every section of the paper with color.
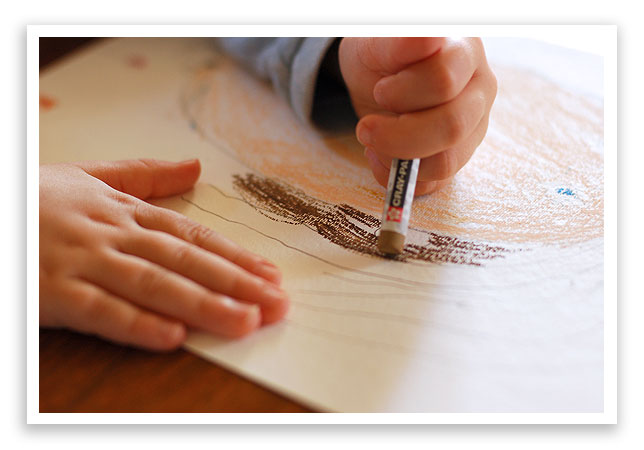
She’s working very hard I can tell.
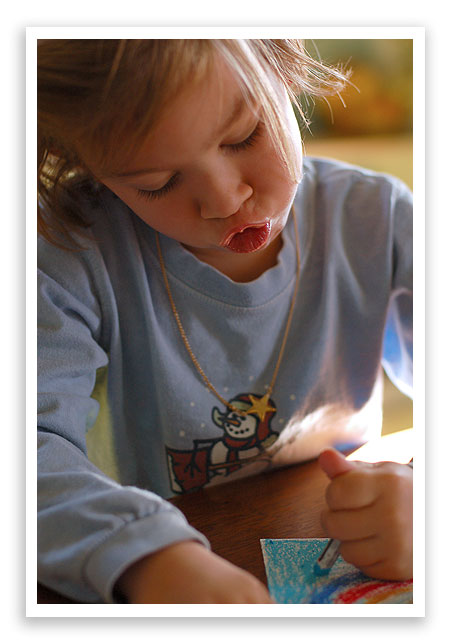
Very lovely color palette Mary Helen. I love the rainbow.
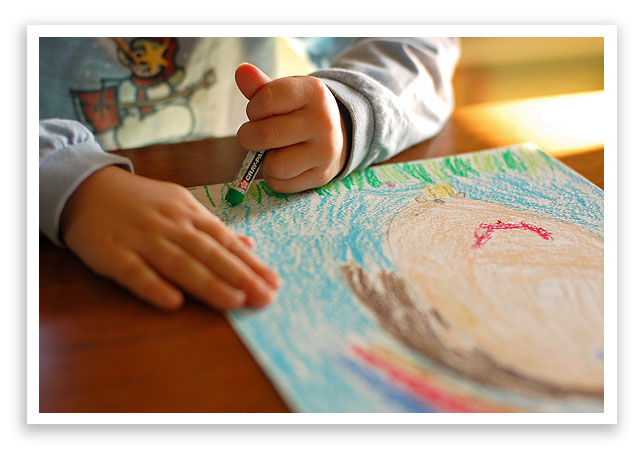
Mary Helen went back over her colors to darken the areas which I think looks mighty nice.
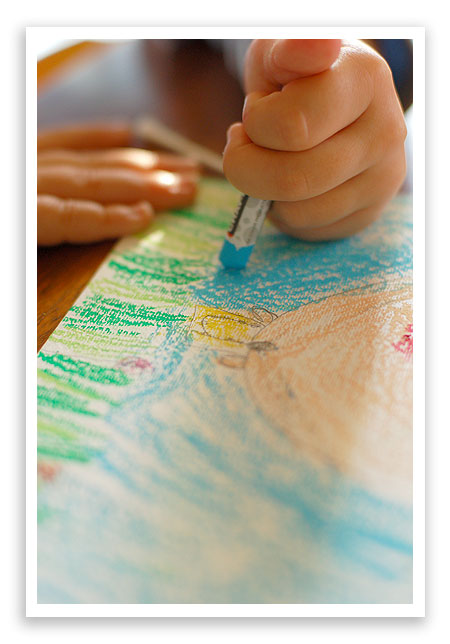
Adding more oil pastel to cover the paper well takes time but it’s worth it.
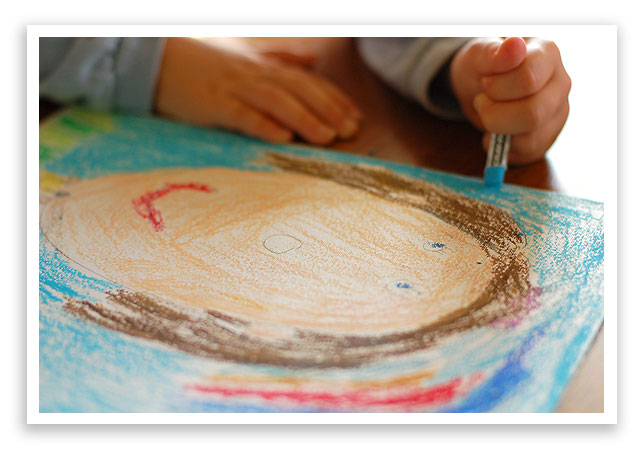
Step 4: When coloring is complete and picture perfect, get the cotton swabs and begin cleaning your ears. Naaaah, hopefully you already did that this morning. Use the cotton swab to “blend” each separate area of color, almost pressing the pastel into the paper.
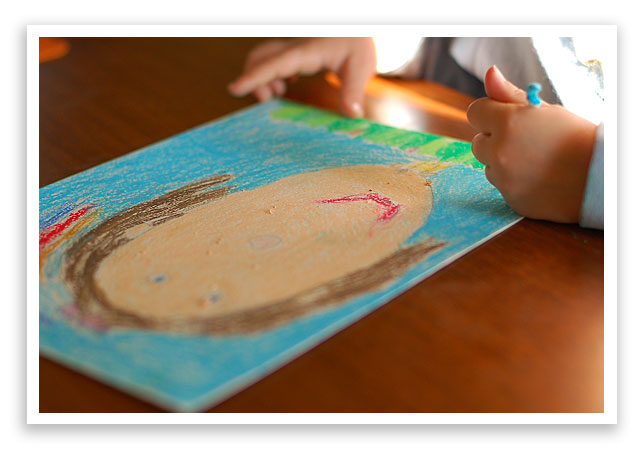
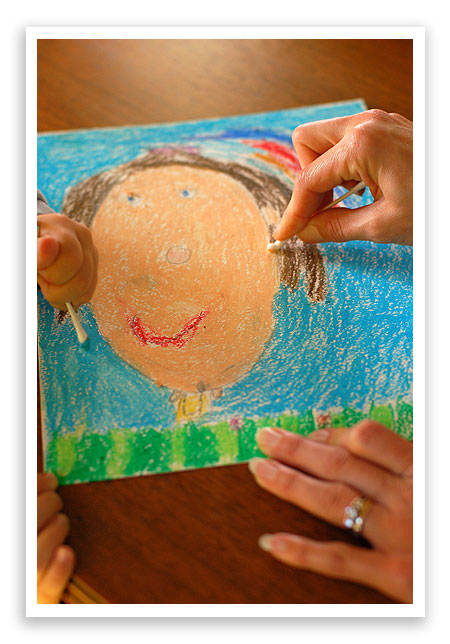
You’re not trying to blend colors into each other – unless that’s the style you’re looking for, and if so, go for it! The cotton swab tip tends to want to ball up, so you’ll need to hold it right at the tip. Depending on the age of the artist, an adult may need to assist with this step.
Step 5: (Sorry but I didn’t take a picture of this step. I had to run to the grocery store.) When drawing is complete, following directions on fixative container, spray artwork. Spray at least 3 times, letting dry between sprays according to directions.
Step 6: Oh, almost forgot! This is important! Sign the artwork with a dark pastel color. You can sign it before or after spraying with fixative.
Step 7: Frame and hang. Remember again, if you’re using a frame with glass you’ll need a mat. The pastel shouldn’t be able to touch the glass or it will stick. Since you’re using spray fixative, you can frame without using glass.
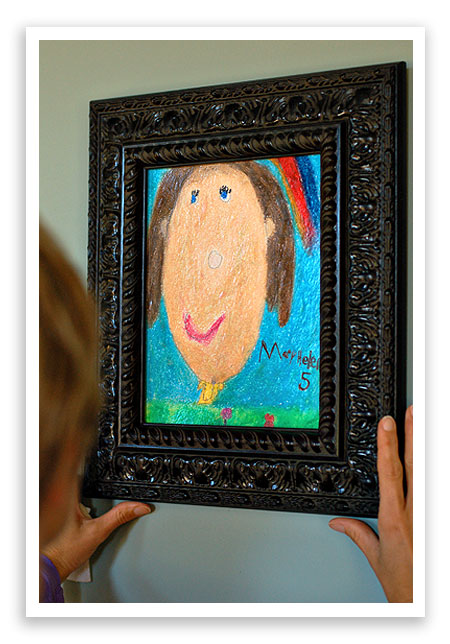
Yea! You’re done. Now you can have a gallery party revealing the priceless artwork.
The most important thing to remember is to have fun!
Do you have any art project that would make a good gift idea? Please share.


I’ll have to think about an art project to share but I must say I am really excited about this particular project! My young grandchildren are coming for Christmas this year and I’m going to do this with them while they’re here. Because they live in St.Louis and we live in SC we’re not able to get together often enough for craft dates. This will be fun for them and I will love hanging their self portraits in my hallway to remember their visit by. Thanks for the idea!
I love this!! I think your daughter is very talented and it would be great to be able to compare how their self-portraits change over time!
I absolutely LOVE it!! I’m sure the grandparents would too–what a fabulous gift idea!–if I could bear to give them away when the kids were done that is…
PS: the pic of Mary Helen “working really hard” is the cutest thing ever. What a doll.
Thanks for the great idea. I will be going to Hobby Lobby this weekend. I cannot wait to see how Molly’s turns out.
Ohmigosh these are so cute! I love them!
Not only are the self portraits of the grandchildren hanging in our living room “priceless”, they are conversation pieces as visitors are always commenting on “how precious” they are. So you may say we have two “priceless precious portraits” on our wall and a positively brillant daughter for coming up with such a good idea. Also the gallary frames make the children feel extra special as they come in and see their artwork displayed for all to see.
The cutest little lips I have ever seen. I think I will have to go and give them a great big kiss. Great job!! Mary Helen will love being famous. We had so much fun. I hope I will be able to get the boys on board and have a family wall. I will let you know.
Amy L.
Can’t wait to see my artists at work on this project! Great gift idea for grandparents!
Oh I’ve forgotten ALL about pastels!!!!!!!! Love this project!
I love that photo! Miss talent! That reminds me that my momma wanted my rugrats to paint her a photo for her bathroom…..I think I’ll have them do that and frame it from her birthday or Christmas!
Great idea!
Adorable! I love to see her little hands work. We have decorated our hallway with kids’ art. We have some art from my nephew and the rest is from the grandkids. We love that art. Great idea for more. 🙂
What an incredibly thoughtful idea. I love it!
I just came across this.. what a wonderful idea. We’ll be doing this on family day! Can’t wait!
How beautiful! What a great idea!
LOVE THIS!
One thing we did a year or two ago was a gift from my daughter to my momma, her “Mae-Mae”.
I purchased a medium sized wooden M from Michael’s, a beautiful green paint that my mom loves, and then I had Madison pick out charms that reminded her of her Mae Mae.
She painted the M, decided where the charms would go and I hot glued them on. I took a lovely picture of Madison as she was working diligently and gave that along with the M.
It turned out wonderfu and was an inexpensive gift that she will keep forever.
Love this idea 🙂
Love this have to get my kiddies to do this one over the summer….
my art project is more a sharing with friend idea see my link http://kidfriendlyja.wordpress.com/simple-crafts/paper-bead-necklace/
Not my original idea but it was still a great fun project that friends could do together.
Love your photos by the way
So sweet!
I *love* these pictures!!!