Photography Tips for Capturing Summer Vacation
This post may contain Amazon or other affiliate links. As an Amazon Associate I earn from qualifying purchases.
Summer is here again and that means ample opportunities to create memorable photographs with family and friends. Today I’m sharing Tips for Capturing Summer Vacation Subjects and Scenery. Be sure to check out the other posts from this series for more handy tips and advice for making great pictures throughout the summer.
Before we get going, please know that I’m not a professional photographer. Over the years I’ve improved by reading, observing, and lots of doing. I still have so much to learn. These tips are practical common sense concepts that I’ve learned and implemented with much, MUCH trial and error. Much.
For starters, any experienced photographer will tell you that great images aren’t the work of the camera but the person using it. They will also tell you having the right tools on hand certainly doesn’t hurt.
A few tools to consider:
DSLR: If your budget allows, a DSLR (a camera that enables you to change the lens) will give you more control over making pictures. If that isn’t an option right now, learn to use your point-and-shoot (a camera with one lens permanently fixed to the camera) like a pro. Take it off of auto and push it to the limits. There are great examples of amazing point-and-shoot photography everywhere.
Tripod: For those family portraits and night-time shots, a tripod is mighty handy. An inexpensive one will work just fine if you’re not planning on doing a bunch of tripod work. And if you’re going to be in the shot (and you should), learn how to use your timer BEFORE you get the group set up for the portrait.
Diffuser/reflector: You can find basic diffusers/reflectors (sometimes called a scrim) for around $30. They’re light and they pack flat for travel.
Polarizer filter (for DSLR users): For daytime outdoor photography, a polarizer filter (I recommend a circular one) will help reduce glare and reflections, helping to bring out details and features. You’ll be amazed at the difference a polarizing filter will make a on a cloudy sky.
Regardless of you photography equipment budget, take some time to brush up on a few areas to make your summer picture making fun and more relaxing. Here are a few things to consider:
Know your camera: Don’t take off on a trip with a new camera that you haven’t learned how to use. Spend some time getting to know your camera and its basic features. Most cameras come with a video tutorial. Watch it. There are also independent camera guides you can purchase, most with video tutorials for many camera models. And don’t forget to pack the manual when traveling. I’ll never forget arriving on vacation out of the country and finding that a random button was pushed on my camera, leaving my camera locked. With no internet access or camera shop around, I couldn’t figure out how to get it back to normal. I incurred major long distance charges when I had to call my sister to get her to search online for a solution.
Learn the Basics of Photography: A good book or online tutorial about the basics of photography will go hand-in-hand with your camera’s manual. There are many great photography books and sites out there that contain tons of information. Even the smallest time commitment will help.
Learn the basic elements and principles of design, color and composition: The best camera in the world can’t compensate for bad composition. Practice these concepts before you need to use them. That said, remember, all rules are sometimes meant to be broken. Some of the best photographers know when to break the rule of thirds and when not to.
Light: Pay attention to the direction of the sun. While summer is full of bright, sunny days, they aren’t ideal for getting the best pictures. For the most part, early morning and late afternoon, when the sun isn’t high in the sky, are the best times for getting better color and less squinting. But we all know that the events of summer will not line up perfectly during those times. Always look for available shade or dappled light options. To avoid dark shadows on faces, try bouncing light back onto the subject with a reflector. Be aware of glare reflecting off water, glass, white sand, buildings and such. Learn what to watch for and be creative with finding good light and avoiding things being blown out by the harshness of summer light.
Basic knowledge of reflectors/diffusers: Basic knowledge of how to use reflectors/diffusers can go a long way in the bright summer sun. As mentioned before, inexpensive, easy-to-pack reflectors can be purchased, or look for simple things in your surroundings like a white towel or sheet, aluminum foil, poster paper or foam core board. Anything that will reflect light back on the subject or diffuse/soften bright light when needed will work.
Frame your shot through the viewfinder: I know this is a piddly point, but I never use the LCD screen to take shots. I know others may disagree, but personally I find it difficult to see details, light/shadows, and hold good composition with the shakiness of it all. Using the LCD also runs the camera battery down much more quickly.
Different points of view: Whether making photos of landscape, scenery, or people, try using different angles and points of view. You never know which ones will end of being your favorite.
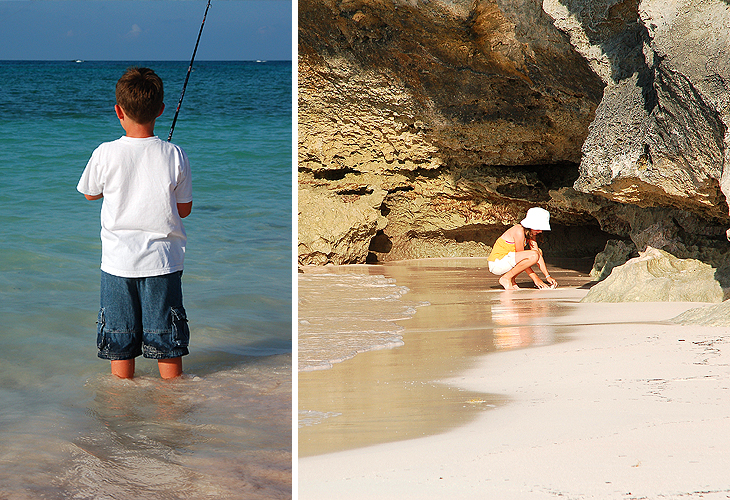
Go for “no pose” captures: Try to capture photos of people while they’re doing something other than posing. My favorite shots of my children are the ones they don’t know I’m taking. The photos are more relaxed and natural. The photo below will always be one of my favorites. There’s no perfect composition or other principles applied, but it’s special to me and exactly how I remember that vacation.
Say no to flash whenever possible: On-camera flash can be harsh and blow out details, plus nothing can replace the beauty of natural light. However, there are times when flash is needed. Try to take the time to learn how to use it properly and practice before you go on vacation. A flash can help as a fill light for dark shadows in bright daylight. If using flash in the evening, see if your camera has a special setting for night-time flash.
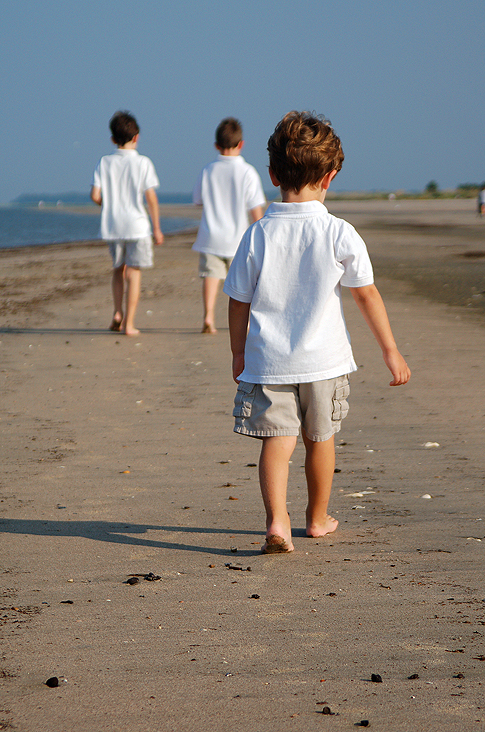 Finally, here’s the biggest and best tip of all: make pictures. And then go make some more. No expensive camera equipment will ever replace experience and doing. The more pictures you make, the more you learn, and so on. Plus, to capture those serendipitous moments we all want to have to hold on to forever and ever, you have to have your camera in your hand, don’t you?
Happy picture making! And best wishes for a wonderful fun-filled summer.

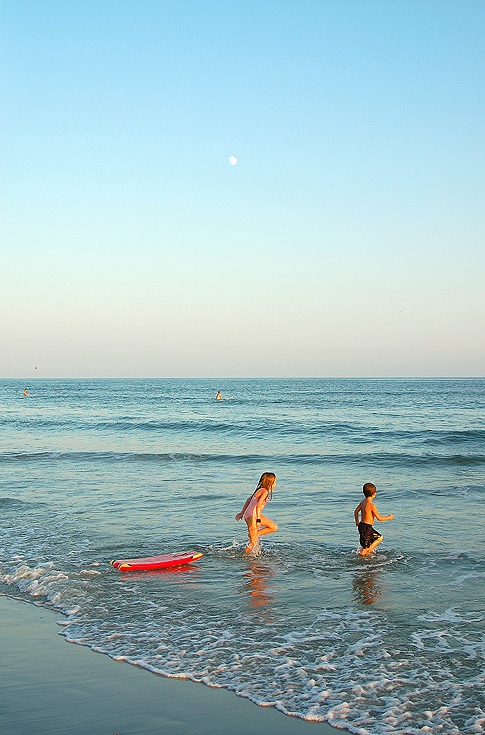
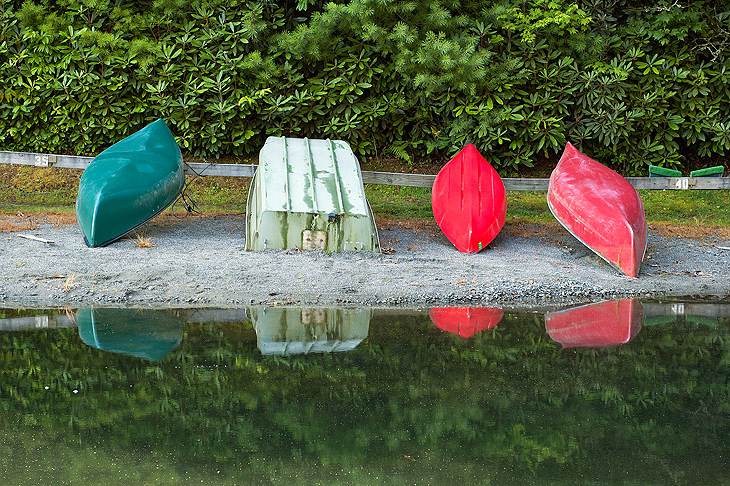

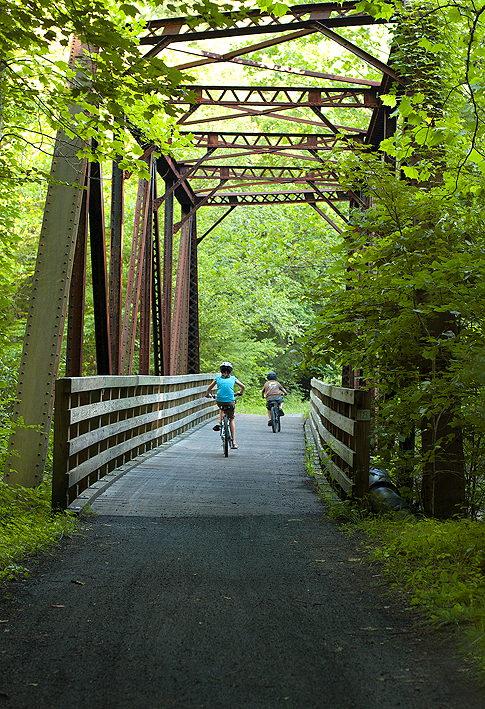


Excellent tips Amy + beautiful photos too!
Excellent tips! Thanks for the pointers. My favorite photo above is the one of the girl on her knees in the sand with the water behind her and the rocks around her. Great color. Must be an afternoon shot. 😀
Lovely photos Amy; they take me back to another time when I had little kids and we walked the beaches of North and South Carolina…thanks for those memories; amazing what photos can do.
Thanks for these great tips!! 🙂
Great tips Amy – I really do want to spend more time improving my outdoor shots this summer.
I love the photos that are taken unposed, really captures the moment doesn’t it? I’ve got to play some more. I need a tripod Amy!
Ps…love the shot of the boats 🙂
thank for the tips, I will try it after I but a tripod.